
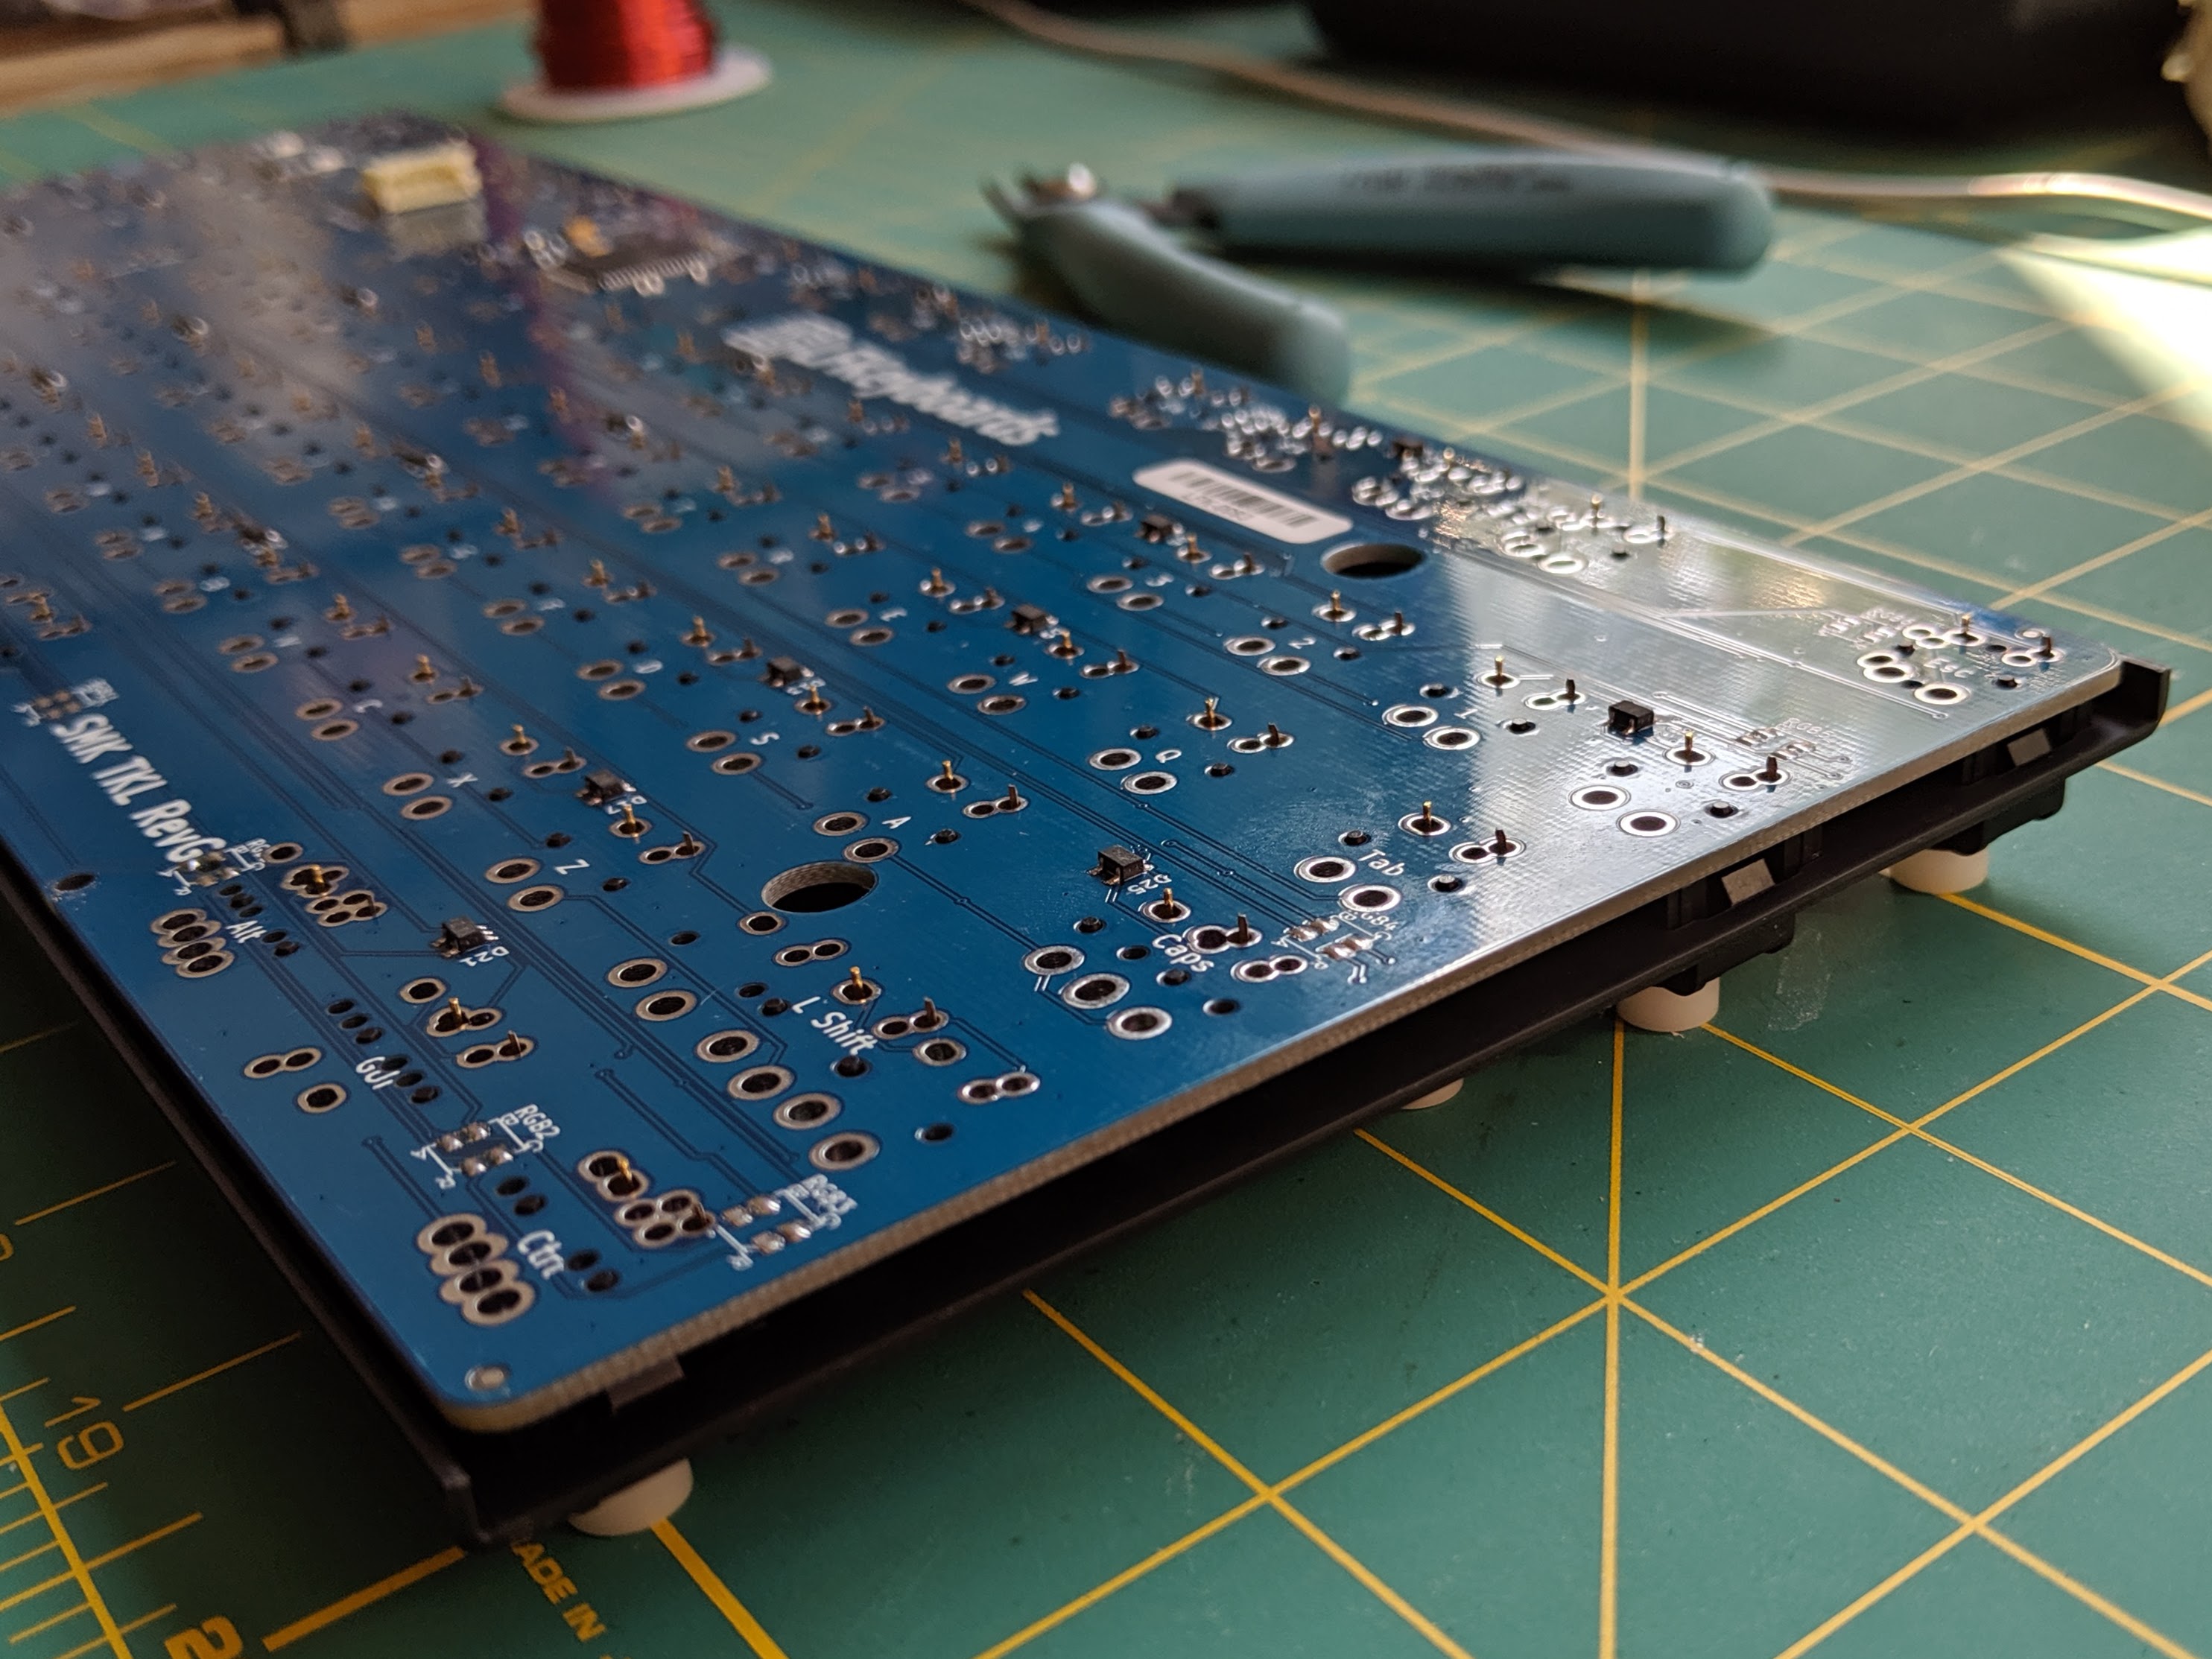
LFKeyboards SMK-TKL with SMK Cherry MX-mount switches
August 10, 2019
Reviving vintage SMK keyboard switches with a modern PCB and form factor (sketch notes for now).
Parts
- LFKeyboards SMK-TKL pcb
- (optional) usb-c connector board
- 87 SMK gen 2 Cherry MX mount switches (from Taobao or Aliexpress)
- Cooler Master Masterkeys S PBT donor board (equivalent to CM Storm Quickfire Rapid)
- Costar stabilizer set with 180-degree wire bends
Tools
- Soldering iron, solder, flux
- SS-02 aluminum solder sucker pen
- Small philips-head screwdriver
- Small flat-head screwdriver
- Flush cutter
- Plastic card (ex. expired credit card, used to open the clips on the case)
- X-acto knife (to trim any interfering plastic)
Outline
Disassemble the donor board
- Remove caps, disassemble, and desolder switches from Cooler Master board
- I use a plastic gift card to work around the outside of the case, disengaging the plastic clips securing the top
- Keep track of the case screws, although not all will be reused
- The case, plate and caps will be used. The switches and pcb can be set aside.
Assemble plate/switches/pcb and solder
- Snip the fixing pins off one SMK switch for F9
- Mount the switches in the plate (pins toward the top of the plate ie. the F-row), putting the snipped one in F9
- If the plate has non-rectangular cutouts, the switches won’t clip in firmly, but they fit acceptably well
- Put the plate+switches face down
- Drop the pcb onto the switches and wiggle into place. If it doesn’t want to go down, check for bent switch pins or switches the wrong way around.
- Since the switches aren’t clipped firmly into the plate, press down solidly on the pcb until the switches collapse
- Press down on the 4 corners of the plate to make sure it’s as far down as it will go
- Apply flux, then solder the 4 corner switches
- Connect the JST-PH connector. If you’re using the usb-c board, good, if using the Cooler Master mini/micro usb board, you’ll have to move the ground wire from pin 4 to pin 5.
- Plug the board in, and test that it works (4 corner keys)
- Unplug, remove JST-PH connector, and solder more switches
- I went 1 row at a time and tested after each row
Mount the board in the case
- Place the pcb+plate assembly in the case to check for fit
- One plastic support peg in the case bottom won’t line up with the hole in the SMK pcb, and must be trimmed (bottom left)
- The post with screw hole in the top case also has no matching pcb hole and must be trimmed
- With this done, the plate+pcb should fit in the case, flush in all four corners
- Remove plate+pcb and connect your choice of JST-PH connector
- As before, if you’re using the usb-c board, good, if using the Cooler Master mini/micro usb board, you’ll have to move the ground wire from pin 4 to pin 5.
- If using the usb-c board, use the xacto knife to enlarge the original usb cutout in the bottom of the case.
- The usb-c board is a drop-in match for the mini-usb board in my Quickfire Rapid. It didn’t line up with the mount points for the micro-usb connector in my Masterkeys S PBT.
- I used the original micro-usb connector – fitting the usb-c board in its place may be a challenge and require more case modification.
- Reassemble and test
- Screw down the plate in 2 spots between the F-row and alpha block (where there were screws originally)
- Put the case top on, making sure the clips all engage (4 in back, 4 in front?)
- Test
Install stabilizers and keycaps
- Install the costar stabilizer clips in the plate
- Attach the stabilizer stems to the stabilized caps (shifts, enter, backspace, space)
- Attach the wire to the keycaps
- Set the stabilized keycaps loosely in place and use the small flat-head screwdriver to press the stab wires into the clips on the plate
- Press down on the caps to secure them onto the switches
- Check that the spacebar actuates smoothly.
- In my case, if I pushed it all the way down, it would stick
- I think the keycap was interfering with the stabilizer wire, preventing it from returning to normal position
- I fixed it by shaving down the inner edge of the front of the spacebar, directly in front of the switch (with xacto knife)
- Install the non-stabilized keycaps, and enjoy :)