
Replacing the USB adapter for a Logitech Wingman Extreme Digital 3D joystick
After losing the original gameport-to-usb adapter for my Logitech joystick, I tried a 3rd party converter, found out that the joystick speaks USB natively, then replaced the joystick’s cable with a direct wired USB cable.
References
- https://sites.google.com/site/joystickrehab/itemcatal
- https://www.vogons.org/viewtopic.php?f=5&t=38555
- https://www.descentbb.net/viewtopic.php?t=14791
- disassembly video https://vimeo.com/90620762
- https://support.logitech.com/en_us/product/extreme-digital-3d/downloads
- https://www.softpedia.com/get/System/System-Miscellaneous/Joystick-Tester.shtml
Preamble
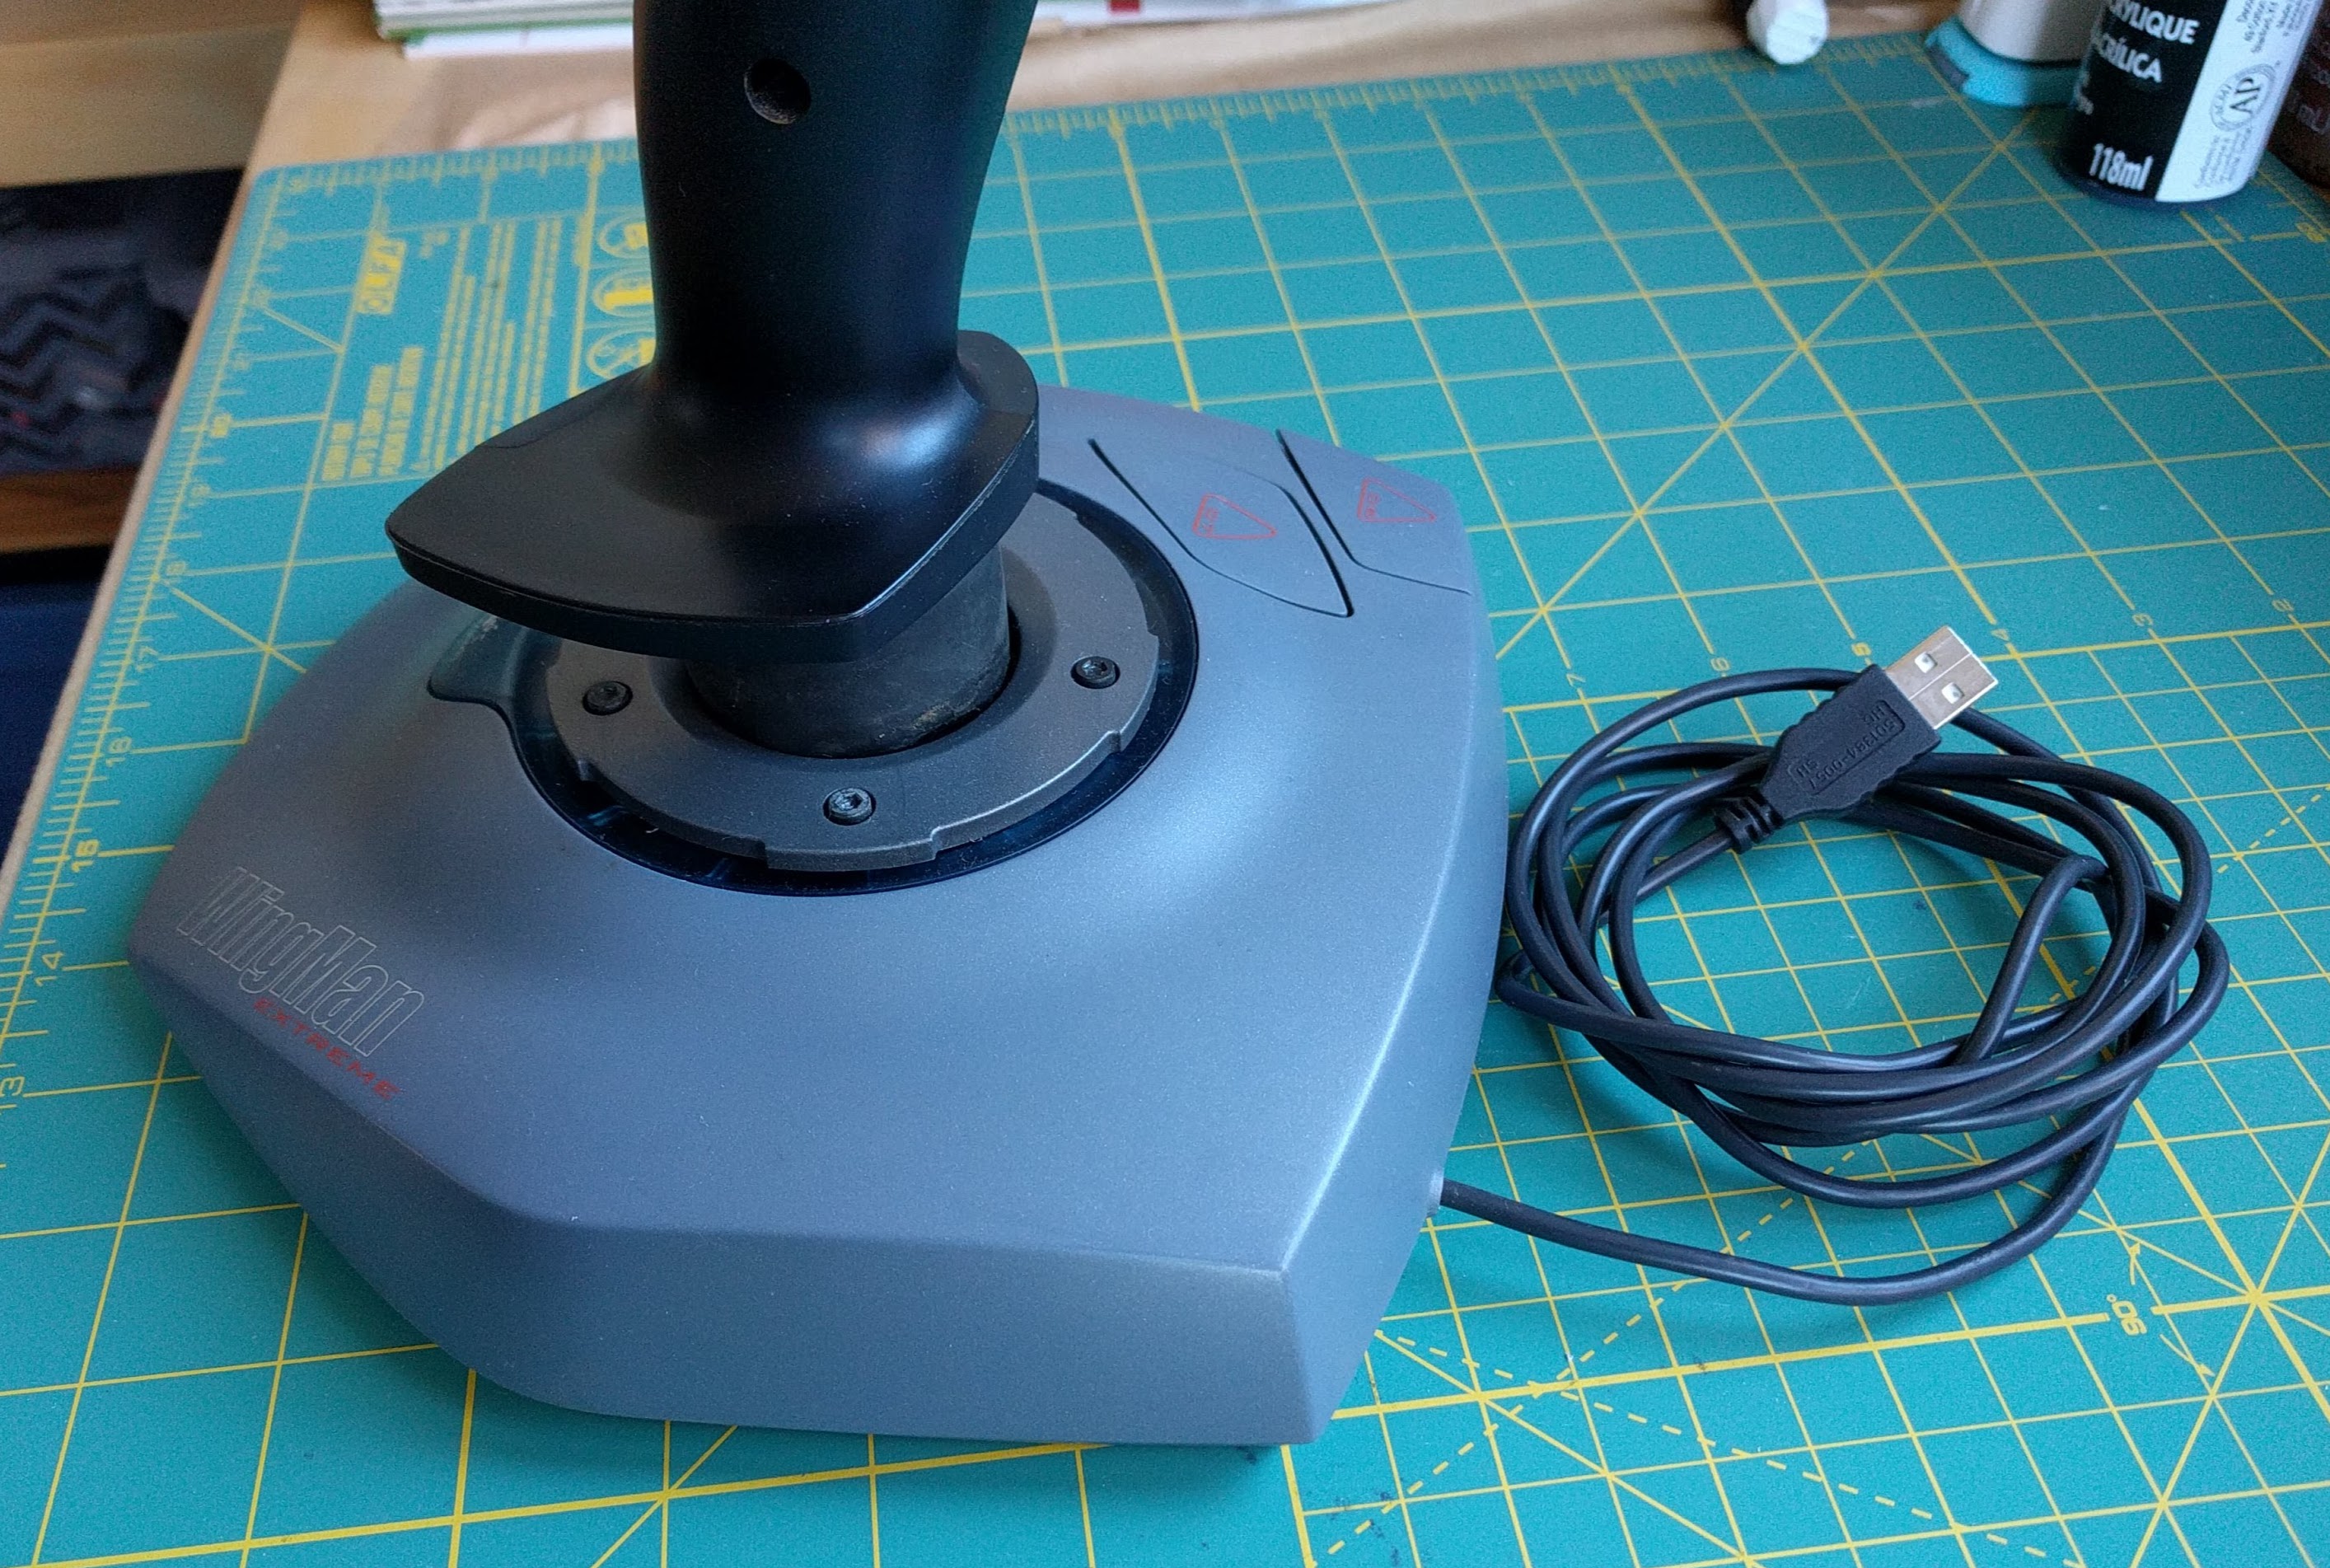
When I went home to visit my family for Thanksgiving, Mom dug out a few boxes that had been packed away since I left for university. Among them was my Logitech Wingman Extreme Digital 3D. I knew it originally came with a USB adapter, but it was missing.
I thought it would be fun to set it up and play TIE Fighter again, before deciding whether to keep or toss it. I knew I needed to replace the USB adapter.
Buying a Mayflash adapter - didn’t work
I bought a Mayflash Super Joy Box 7 gameport-to-usb adapter from amazon.com (US site). Joystick Rehab’s description said “Mode S - Logitech ADI Joystick (for Logitech Wingman Digital, and Logitech Wingman Extreme Digital)” and I didn’t notice the name didn’t include “3D”. Plugging it in resulted in the adapter being detected fine by Windows, but not behaving like a joystick was actually attached to it.
Learning the joystick spoke USB
Reading the section “Later Digital Joysticks” of https://sites.google.com/site/joystickrehab/analog-vs-digital made me realize that the joystick’s original adapter might have been passive - no protocol adaptation required. If that was true, I could build a new adapter.
With Google I found the forum post at vogons.org, which helpfully linked to descentbb.net. This included all the pinout information required to build the adapter.
Other options
The original USB adapter would have worked fine if I still had it.
Buying the Belkin adapter (advertised as for a Sidewinder) ought to work, according to https://www.descentbb.net/viewtopic.php?t=14791 (though you may have to short pins 2 and 7 yourself).
External or internal conversion
If I had a gameport cable with the right end on hand, I likely would have built an external adapter to replace the original. Since I didn’t, I decided to replace the built in gameport cable with a USB cable.
Disassembling the joystick
This video shows how the pieces come apart: https://vimeo.com/90620762
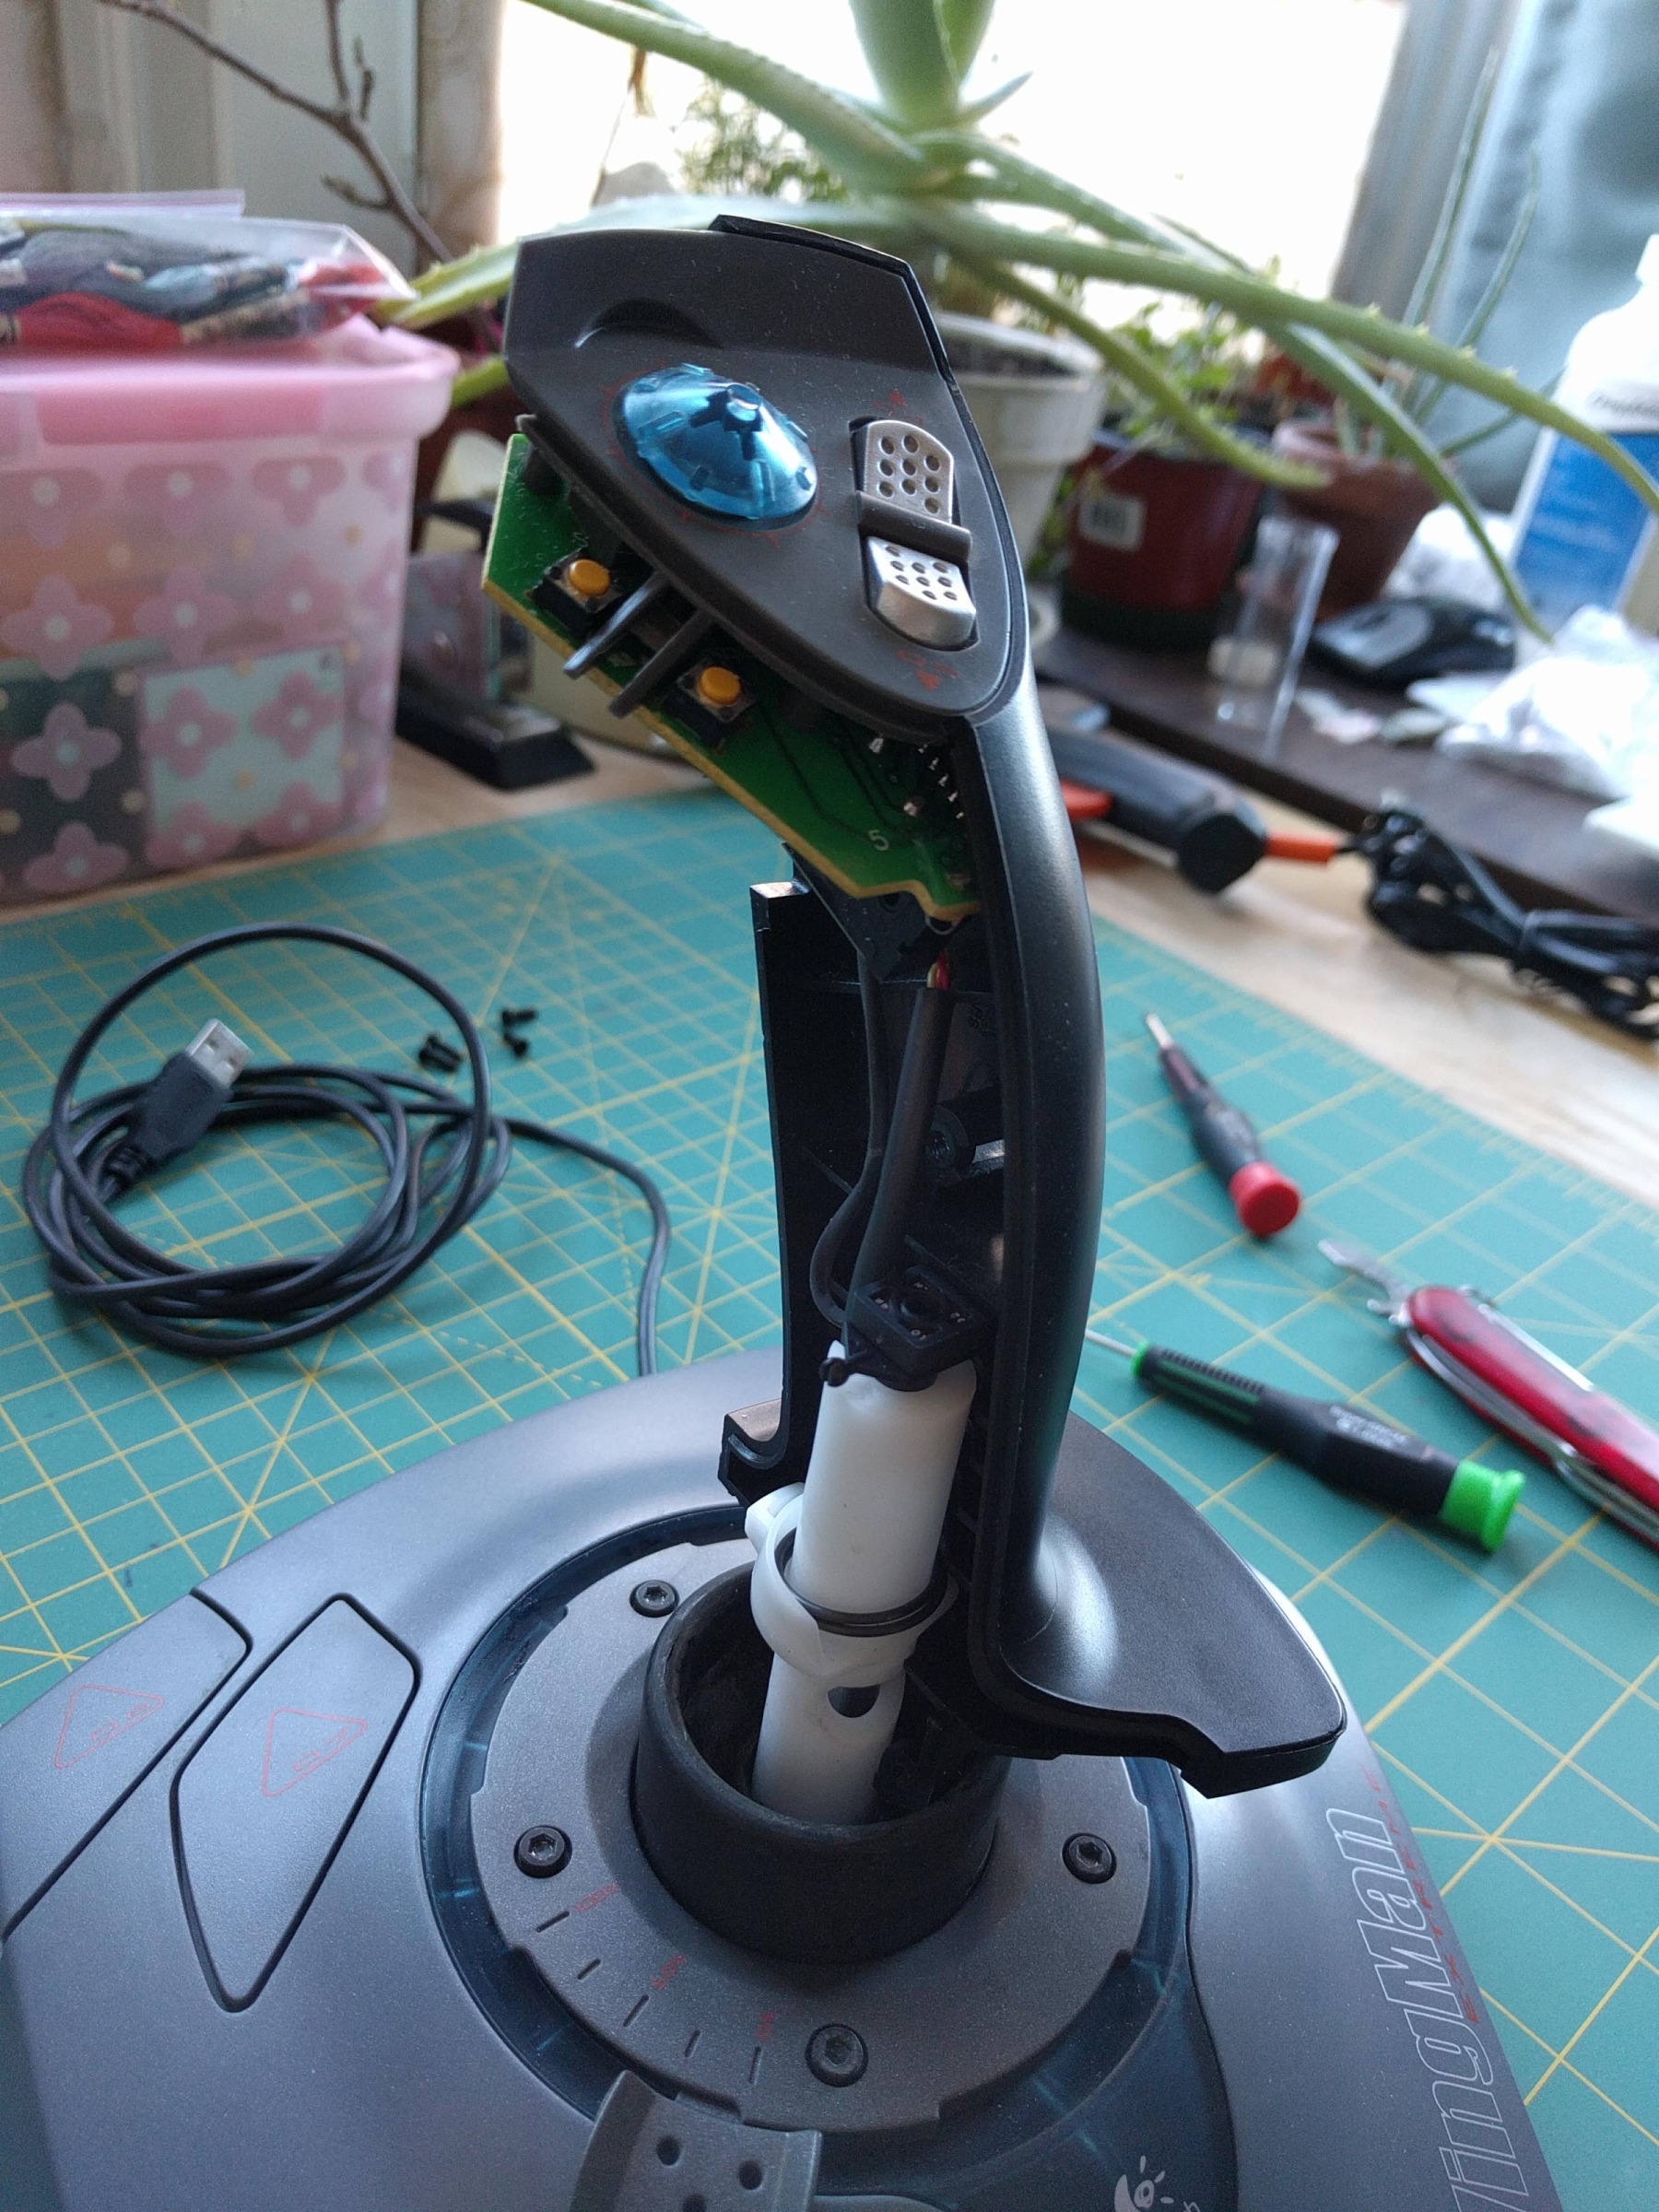
Flip the joystick over and remove the 5 or so screws from the base. Turn it back right side up.
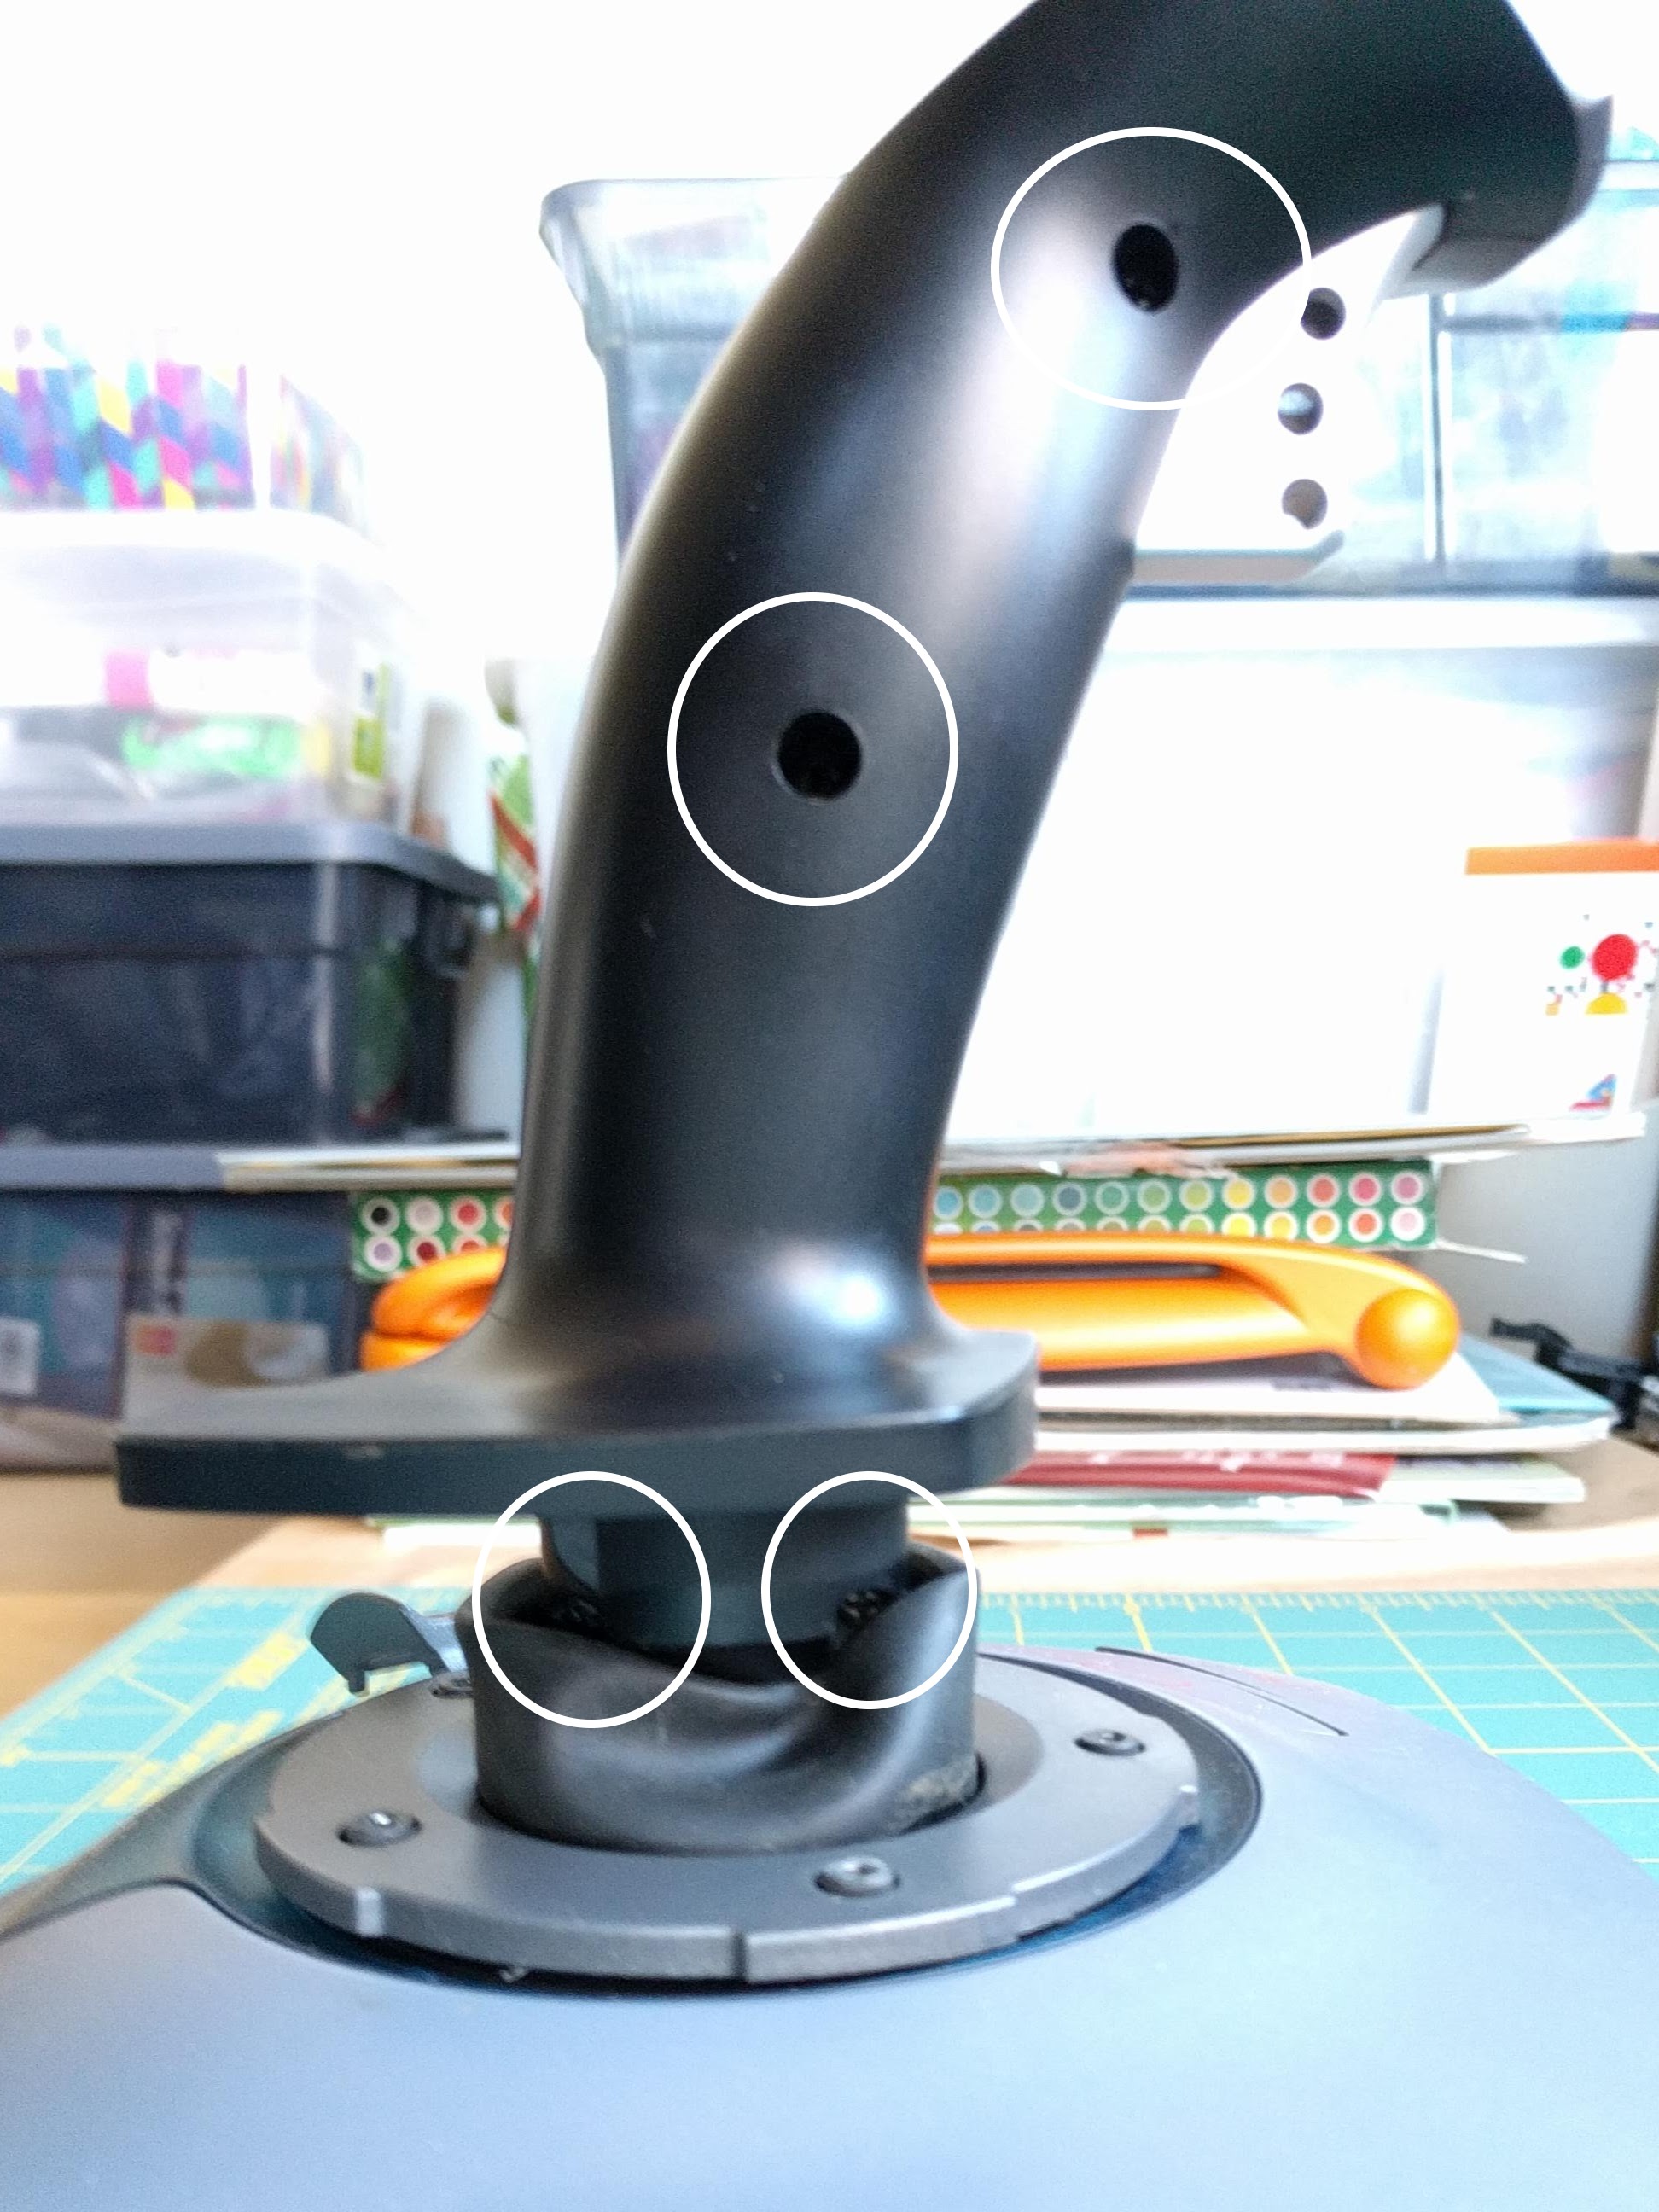
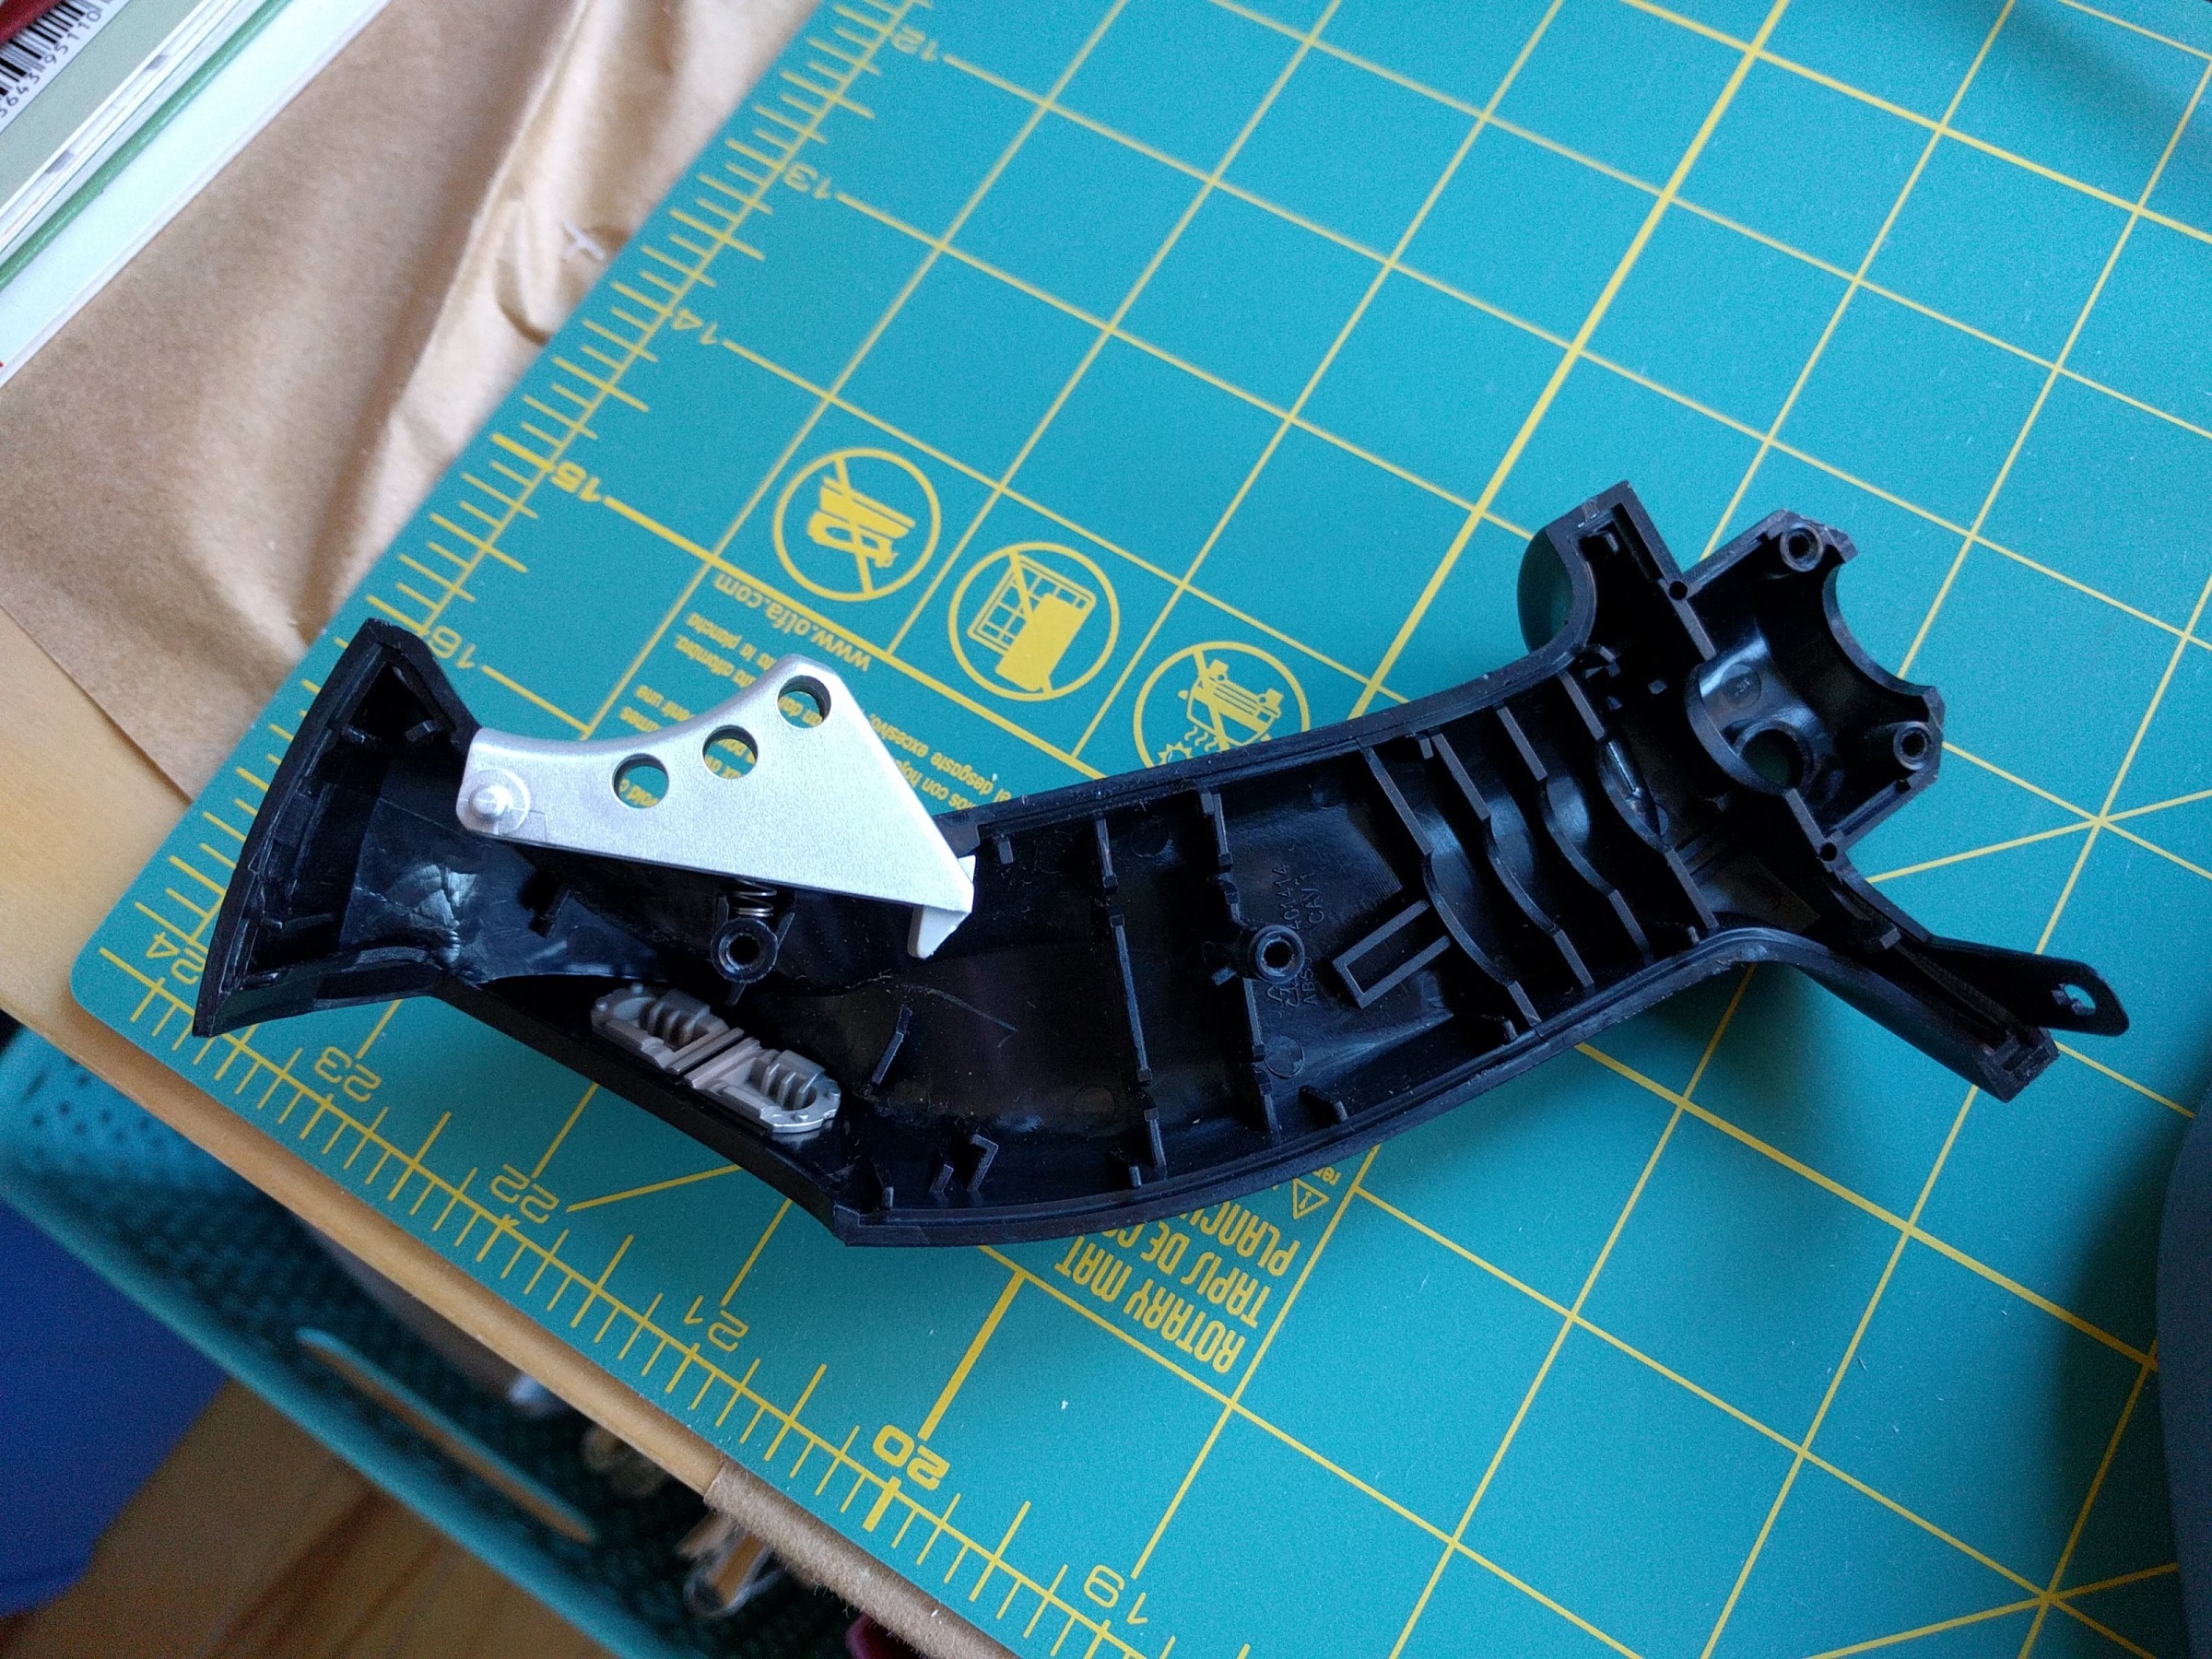
Disassemble the joystick starting with the 4 screws in the handle (2 are at the bottom behind the rubber sleeve). Undo the plastic latch on the bottom of the shelf for your hand and you should be able to gently separate the 2 halves of the joystick’s handle. The trigger and 2 of the top buttons will come out.
You do not need to disconnect or disassemble the bit containing the hat and the other thumb buttons.
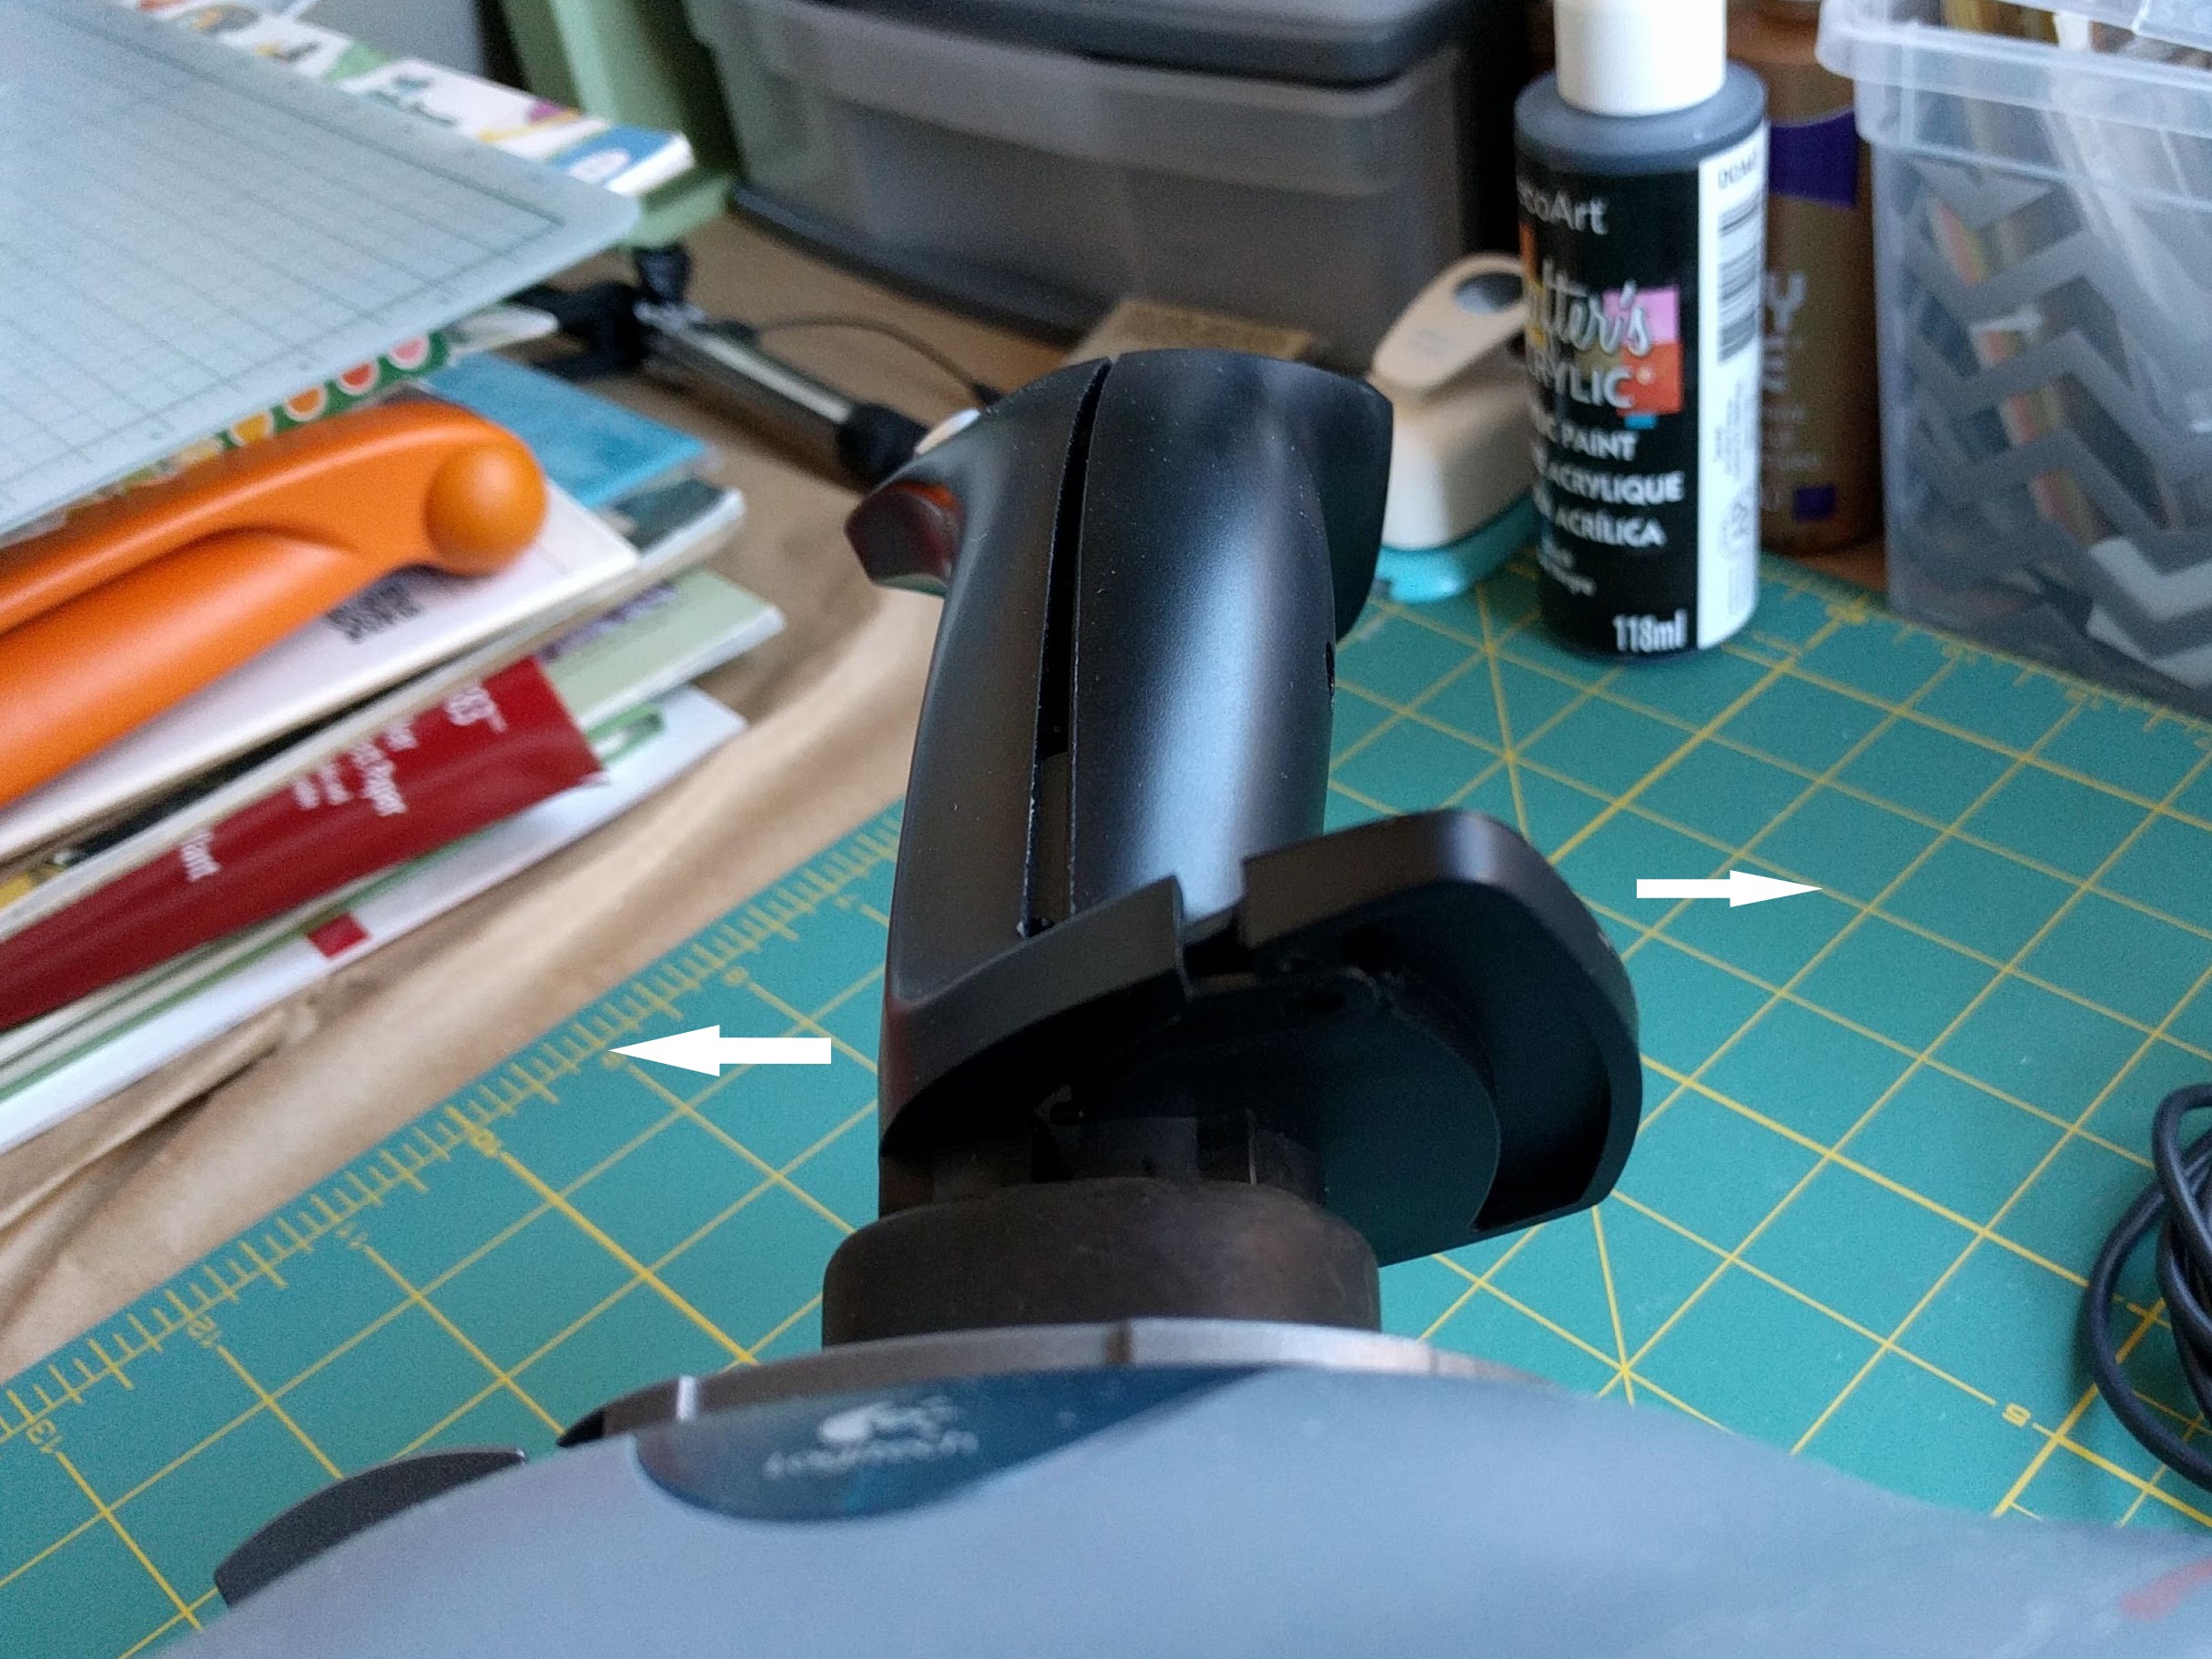
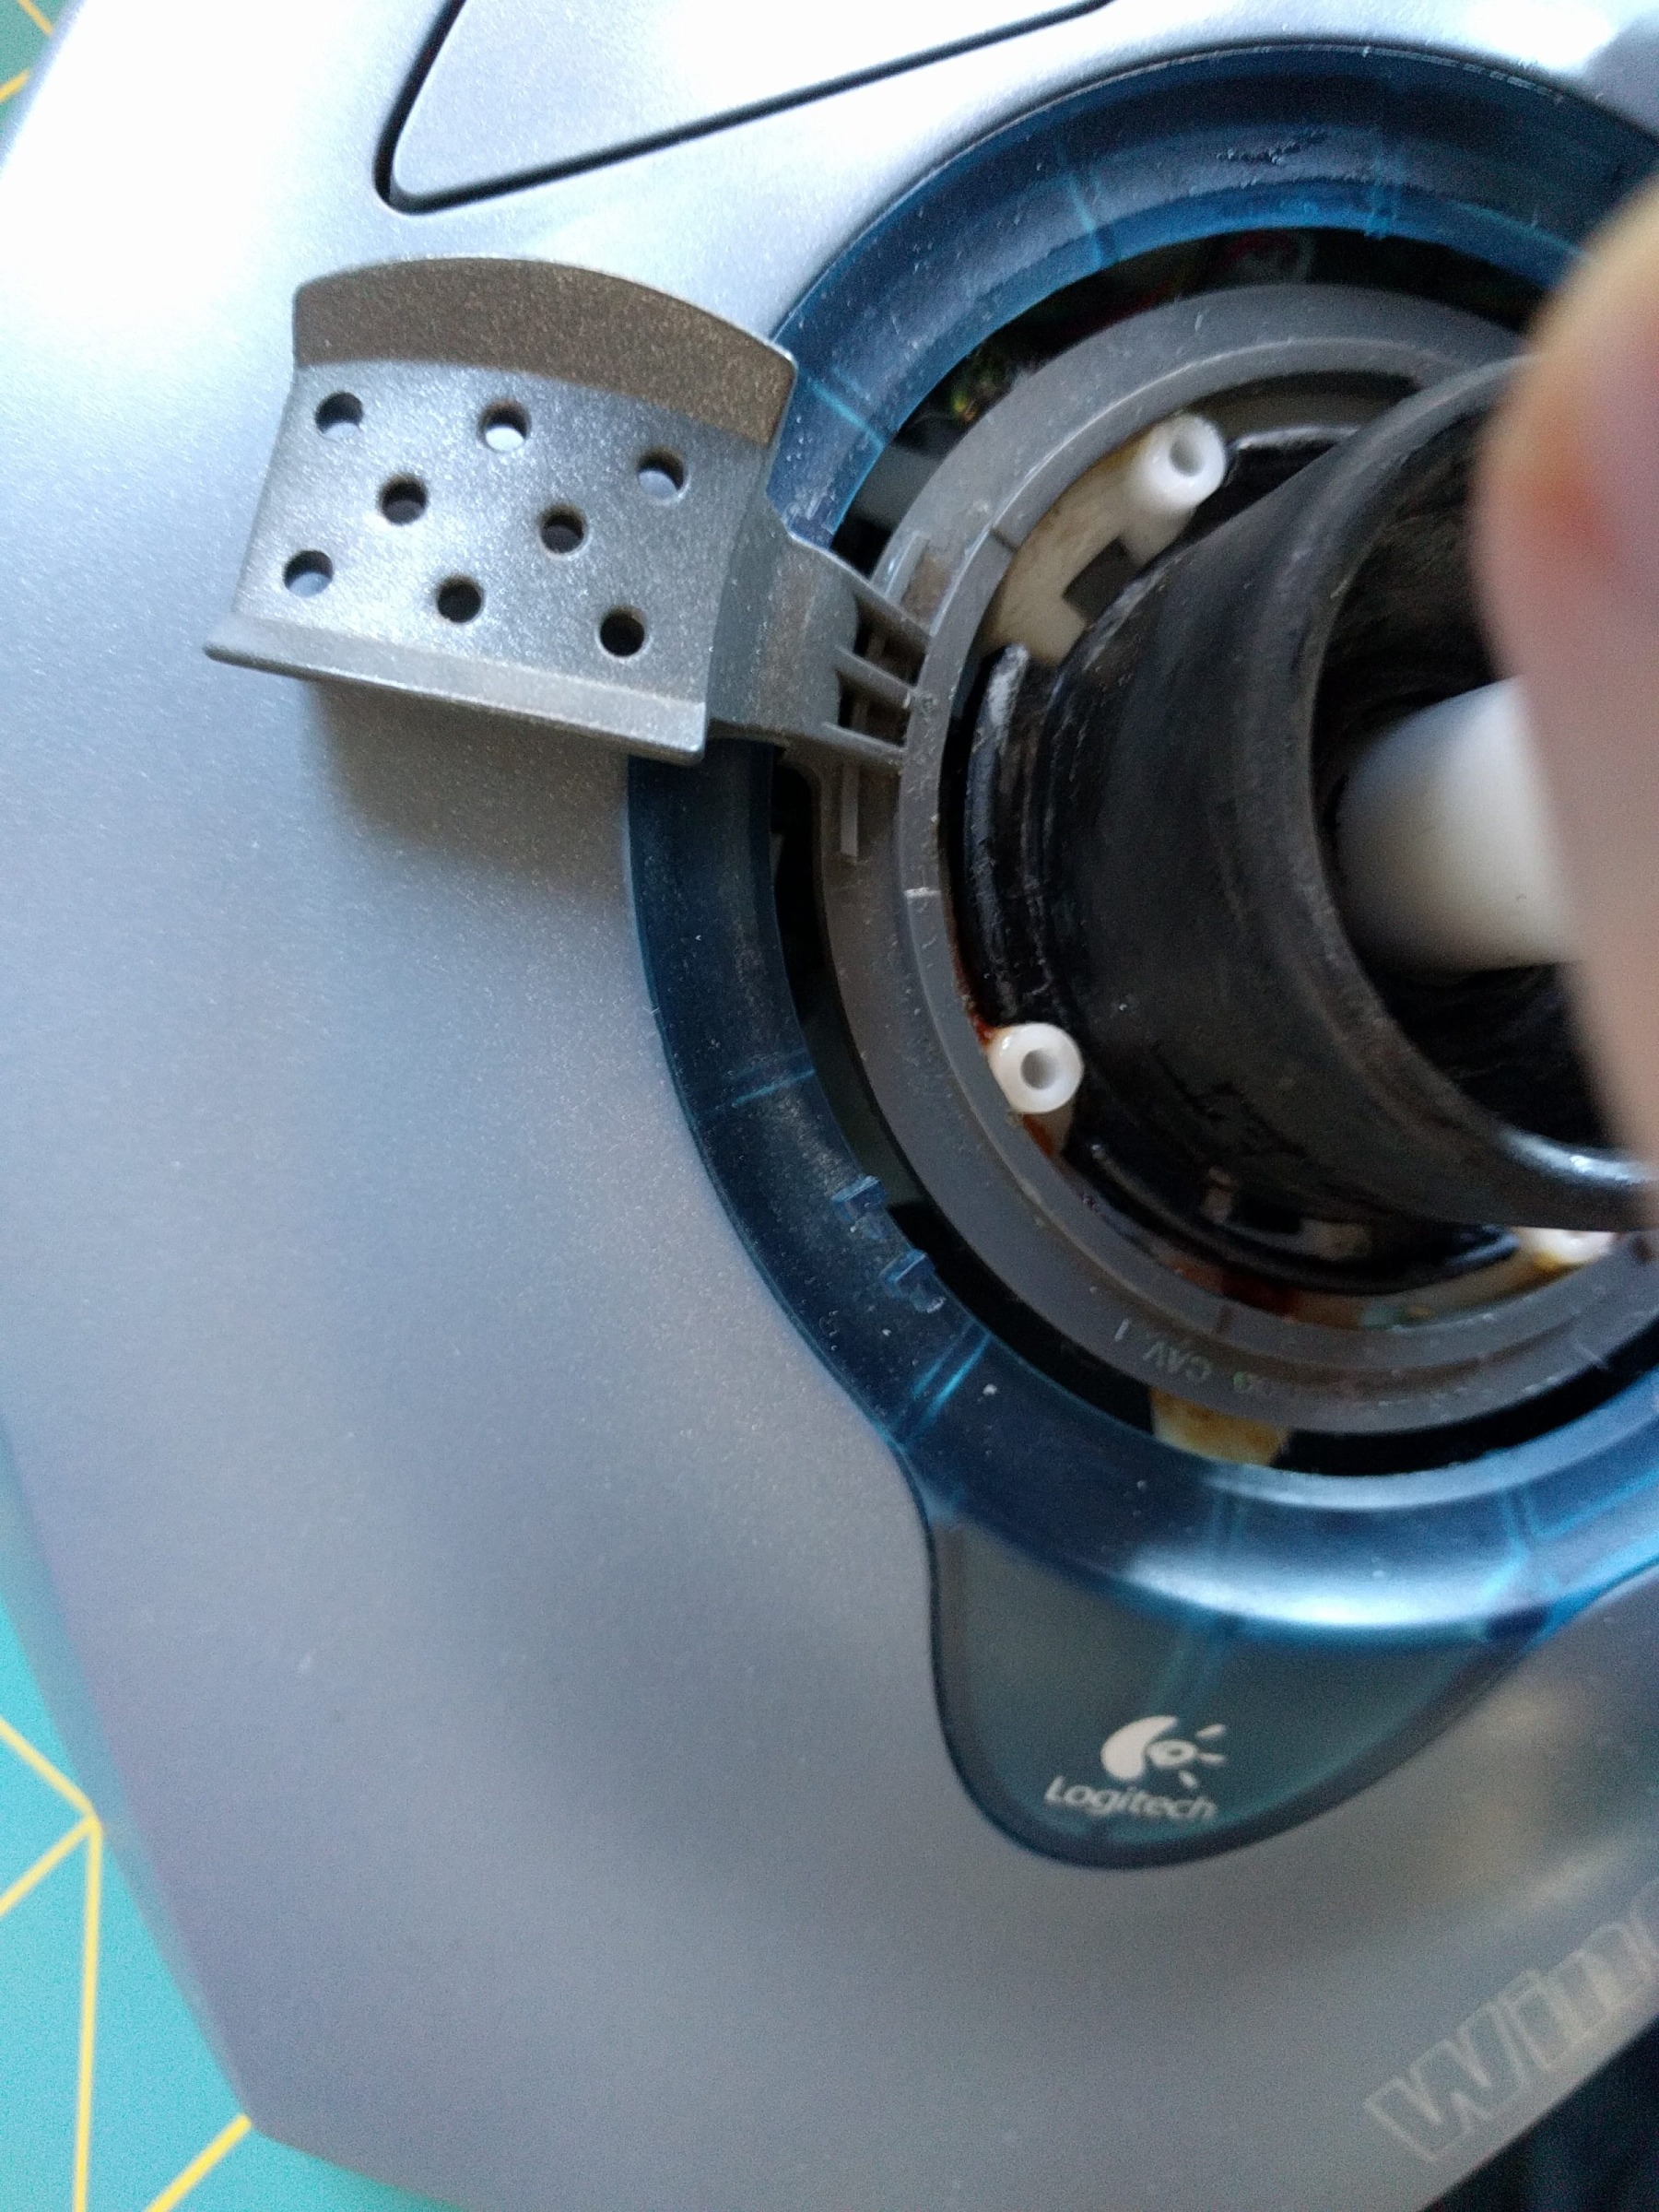
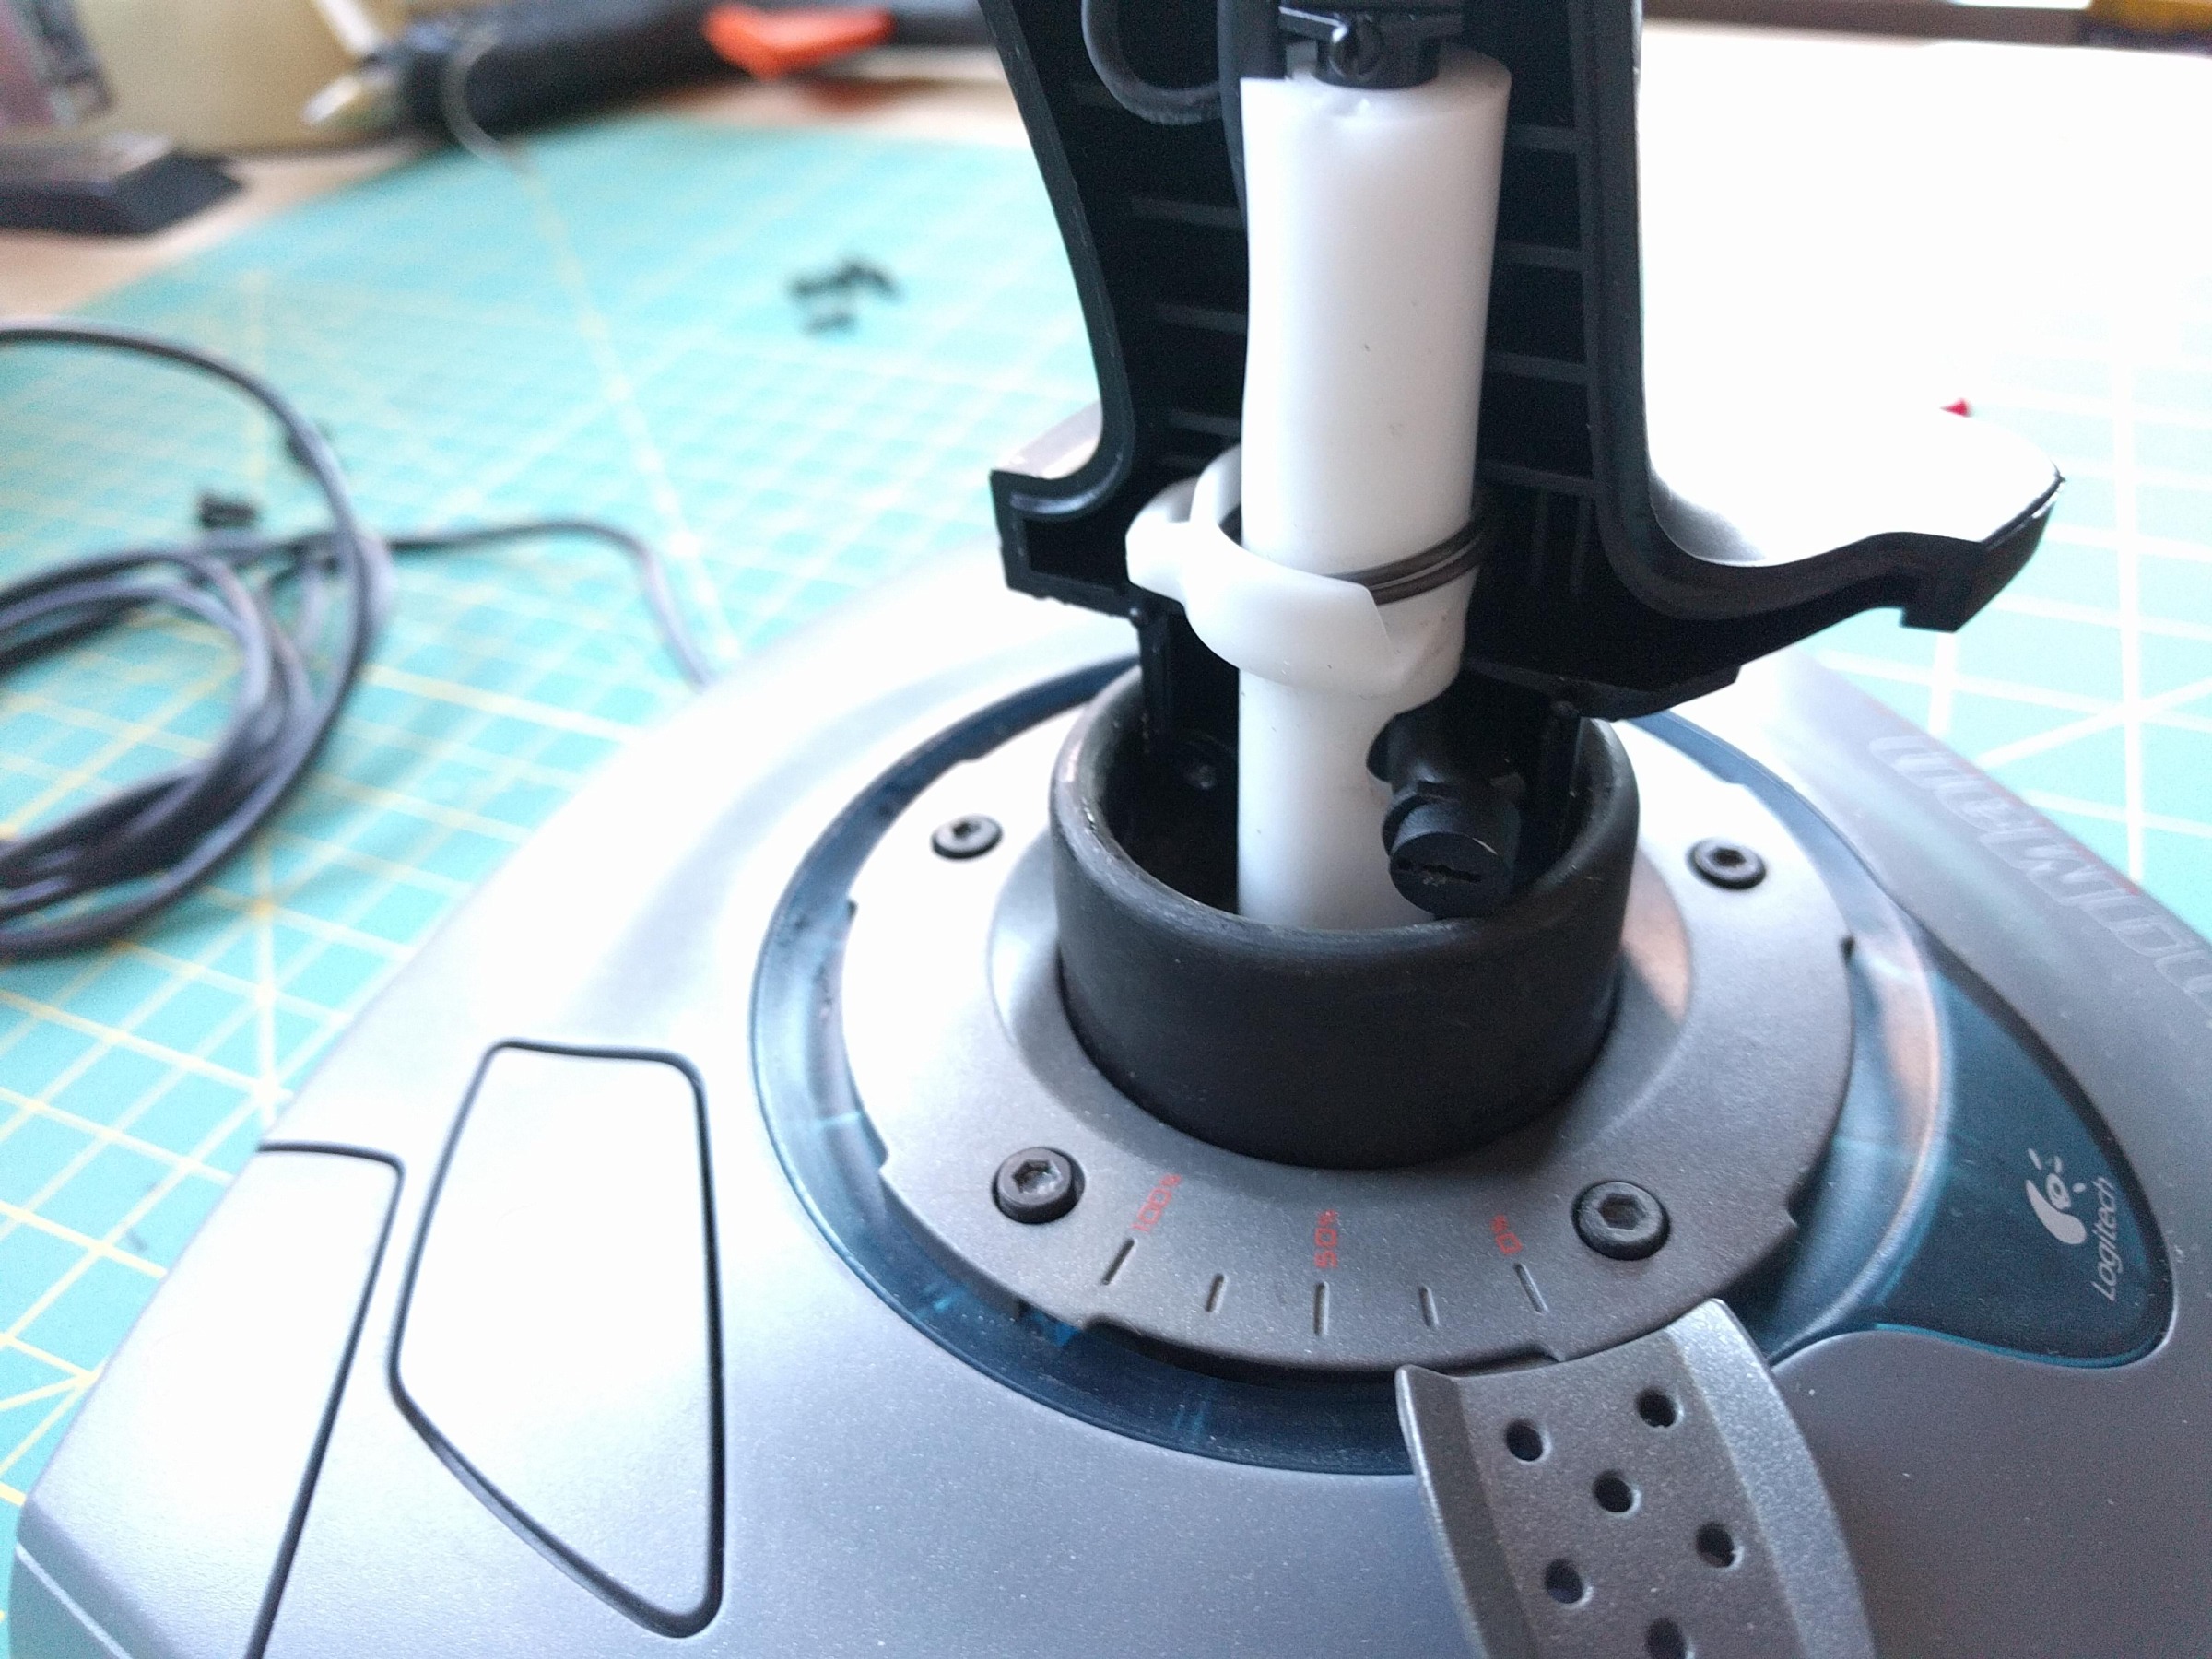
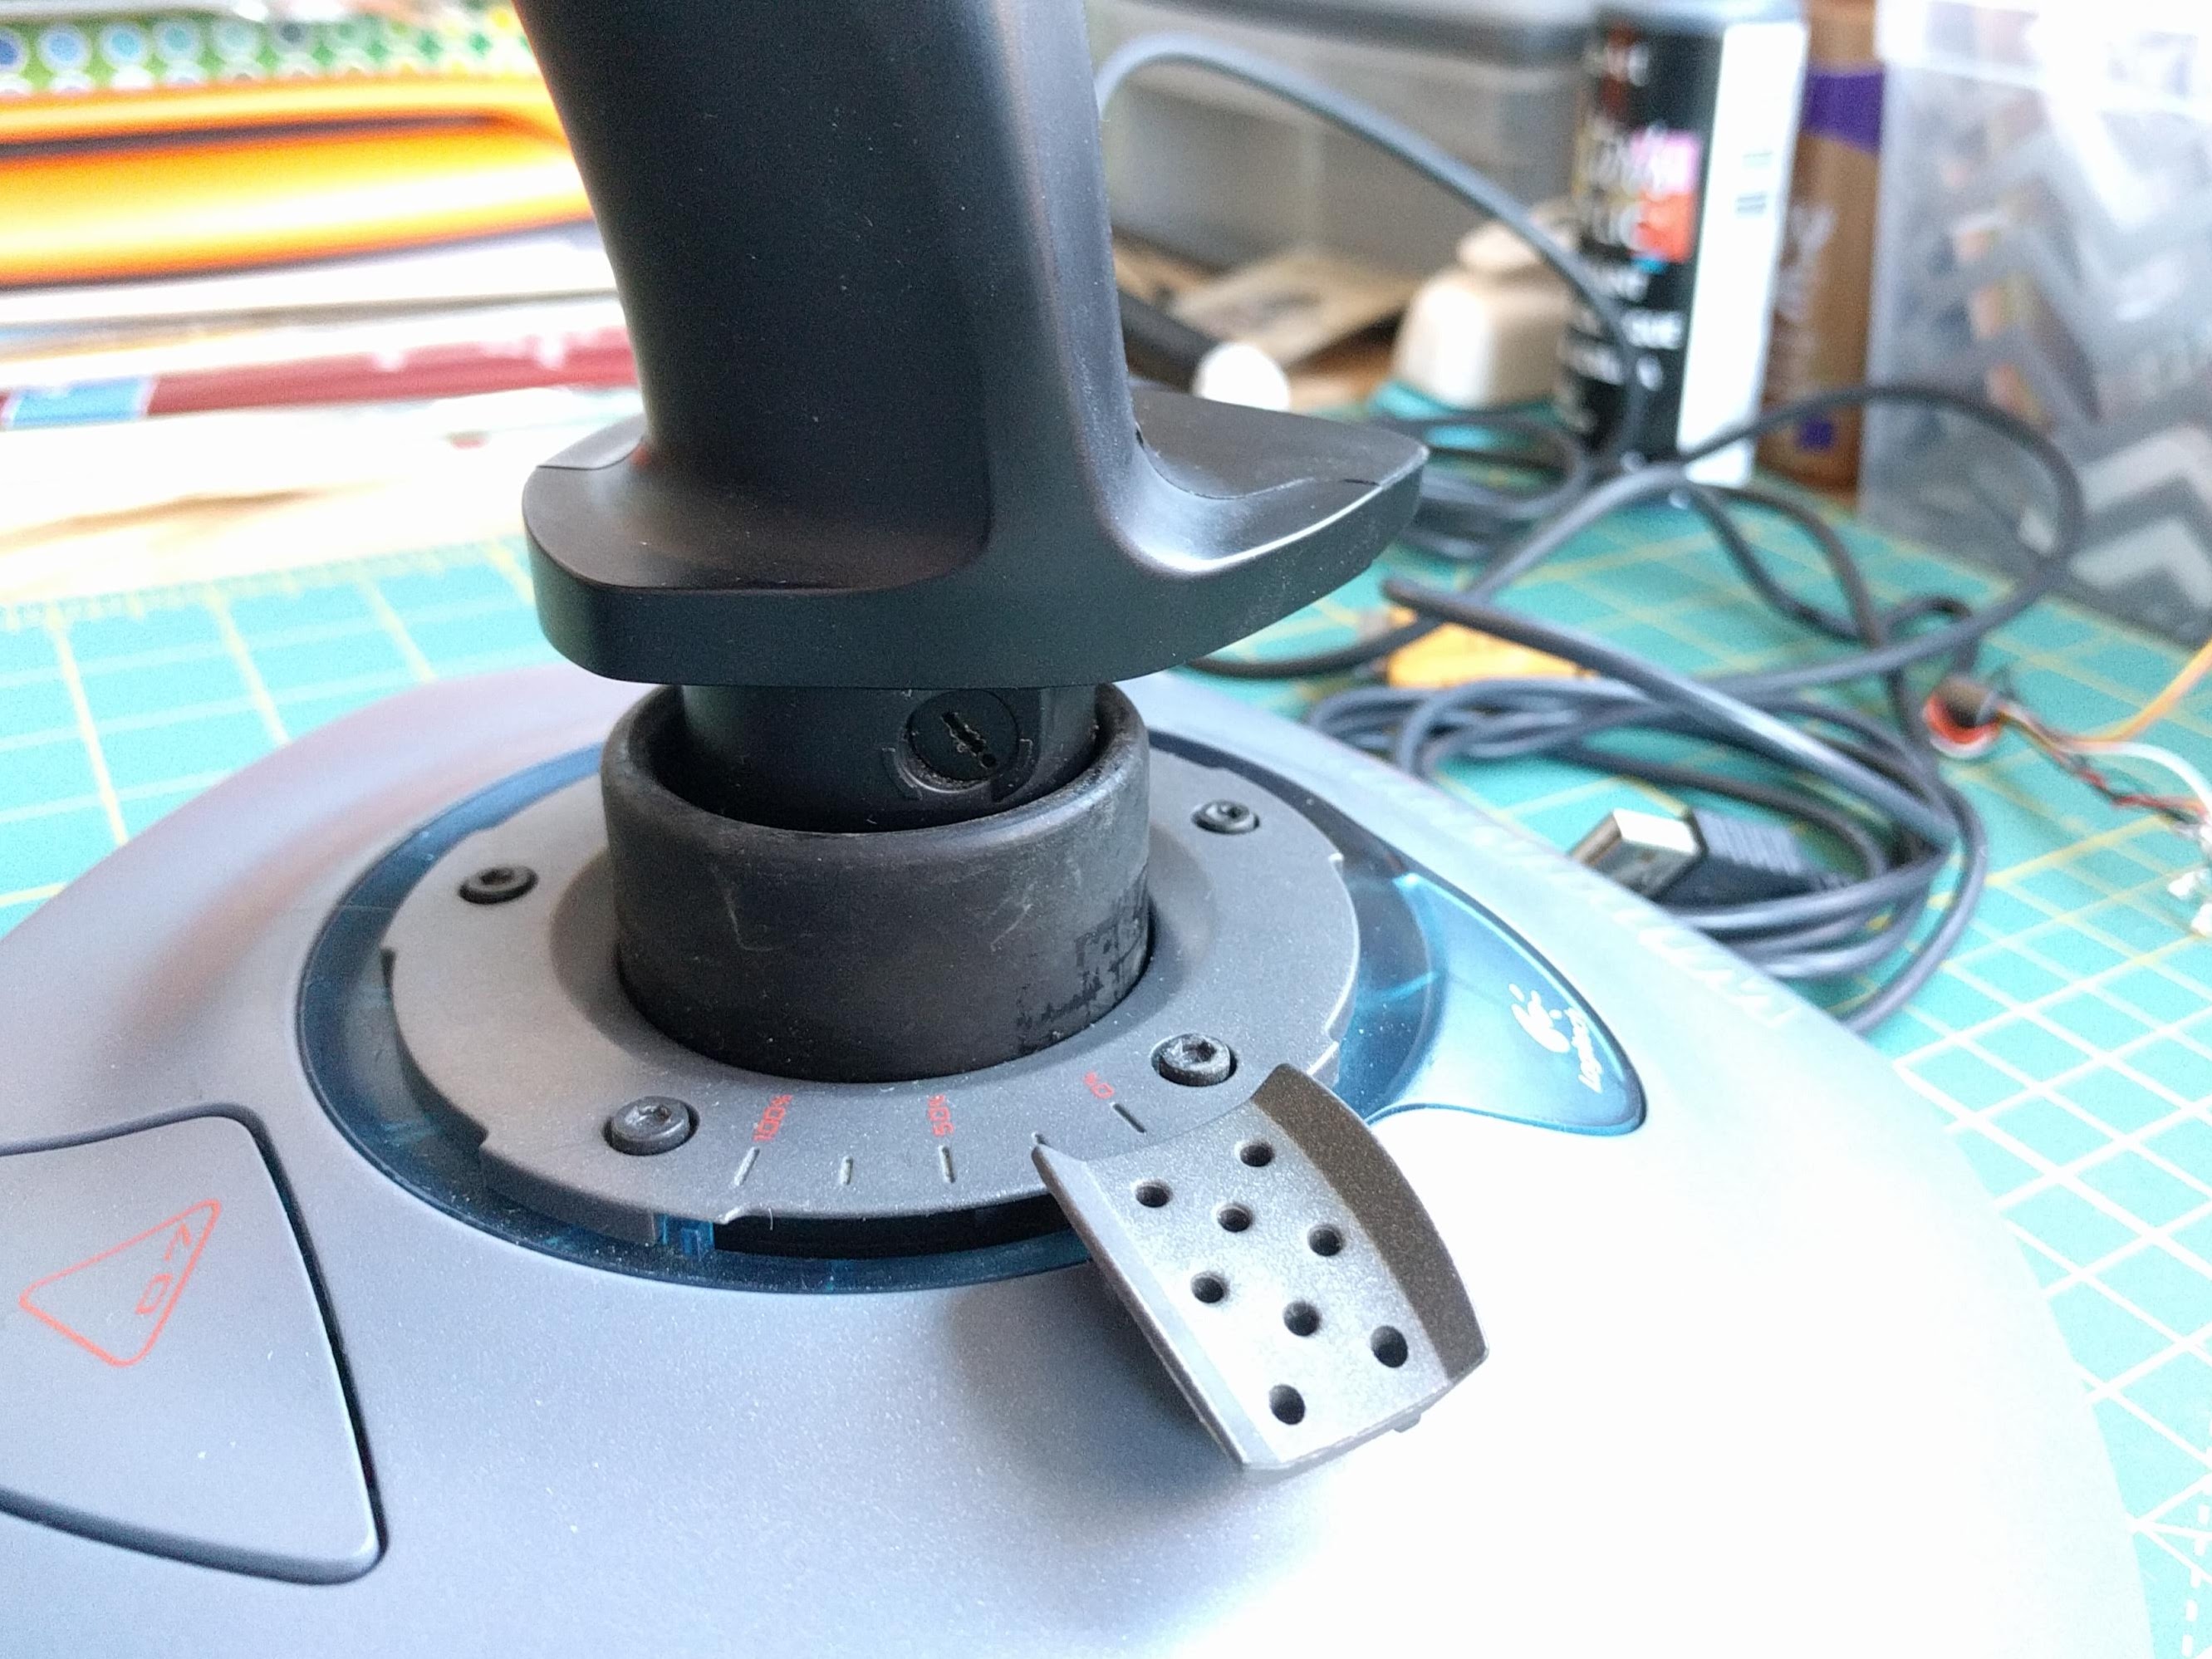
Use gentle prying with a flathead screwdriver to pop up the ring that sits over the throttle. The hex screws on this plastic ring are decorative and they don’t screw out. Once this is up, the throttle and the rubber sleeve will sit loosely and can be moved around.
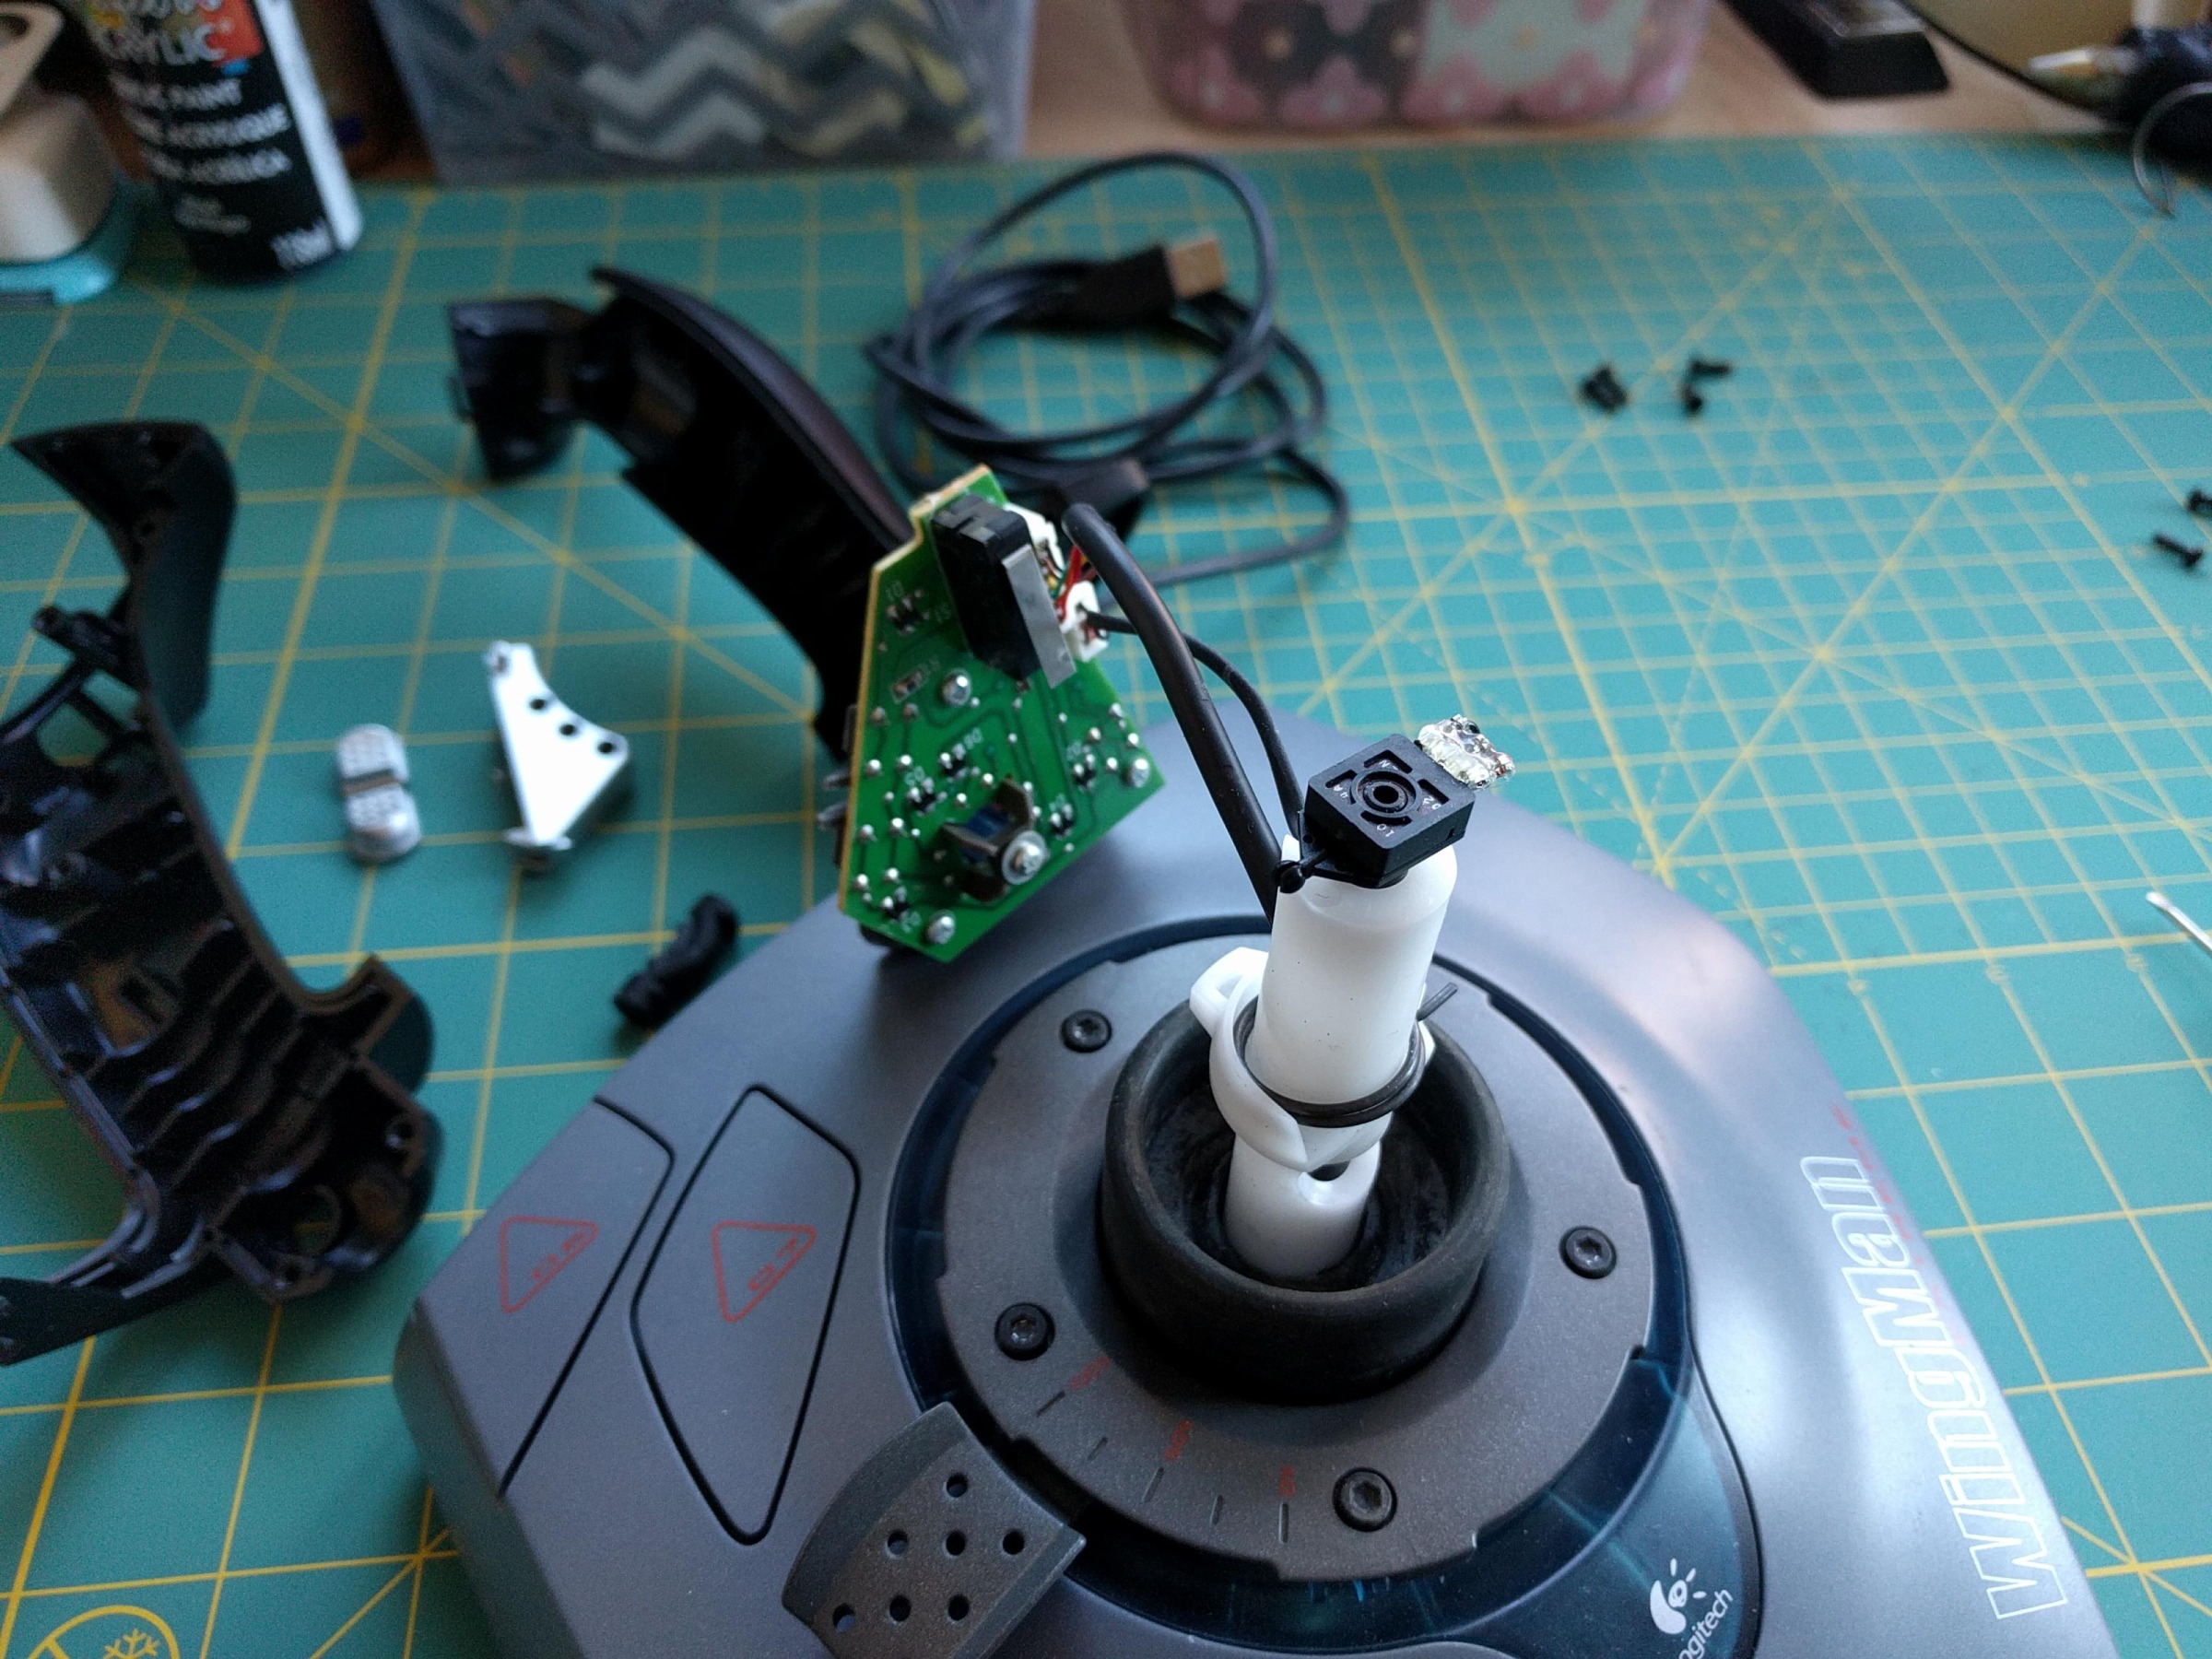
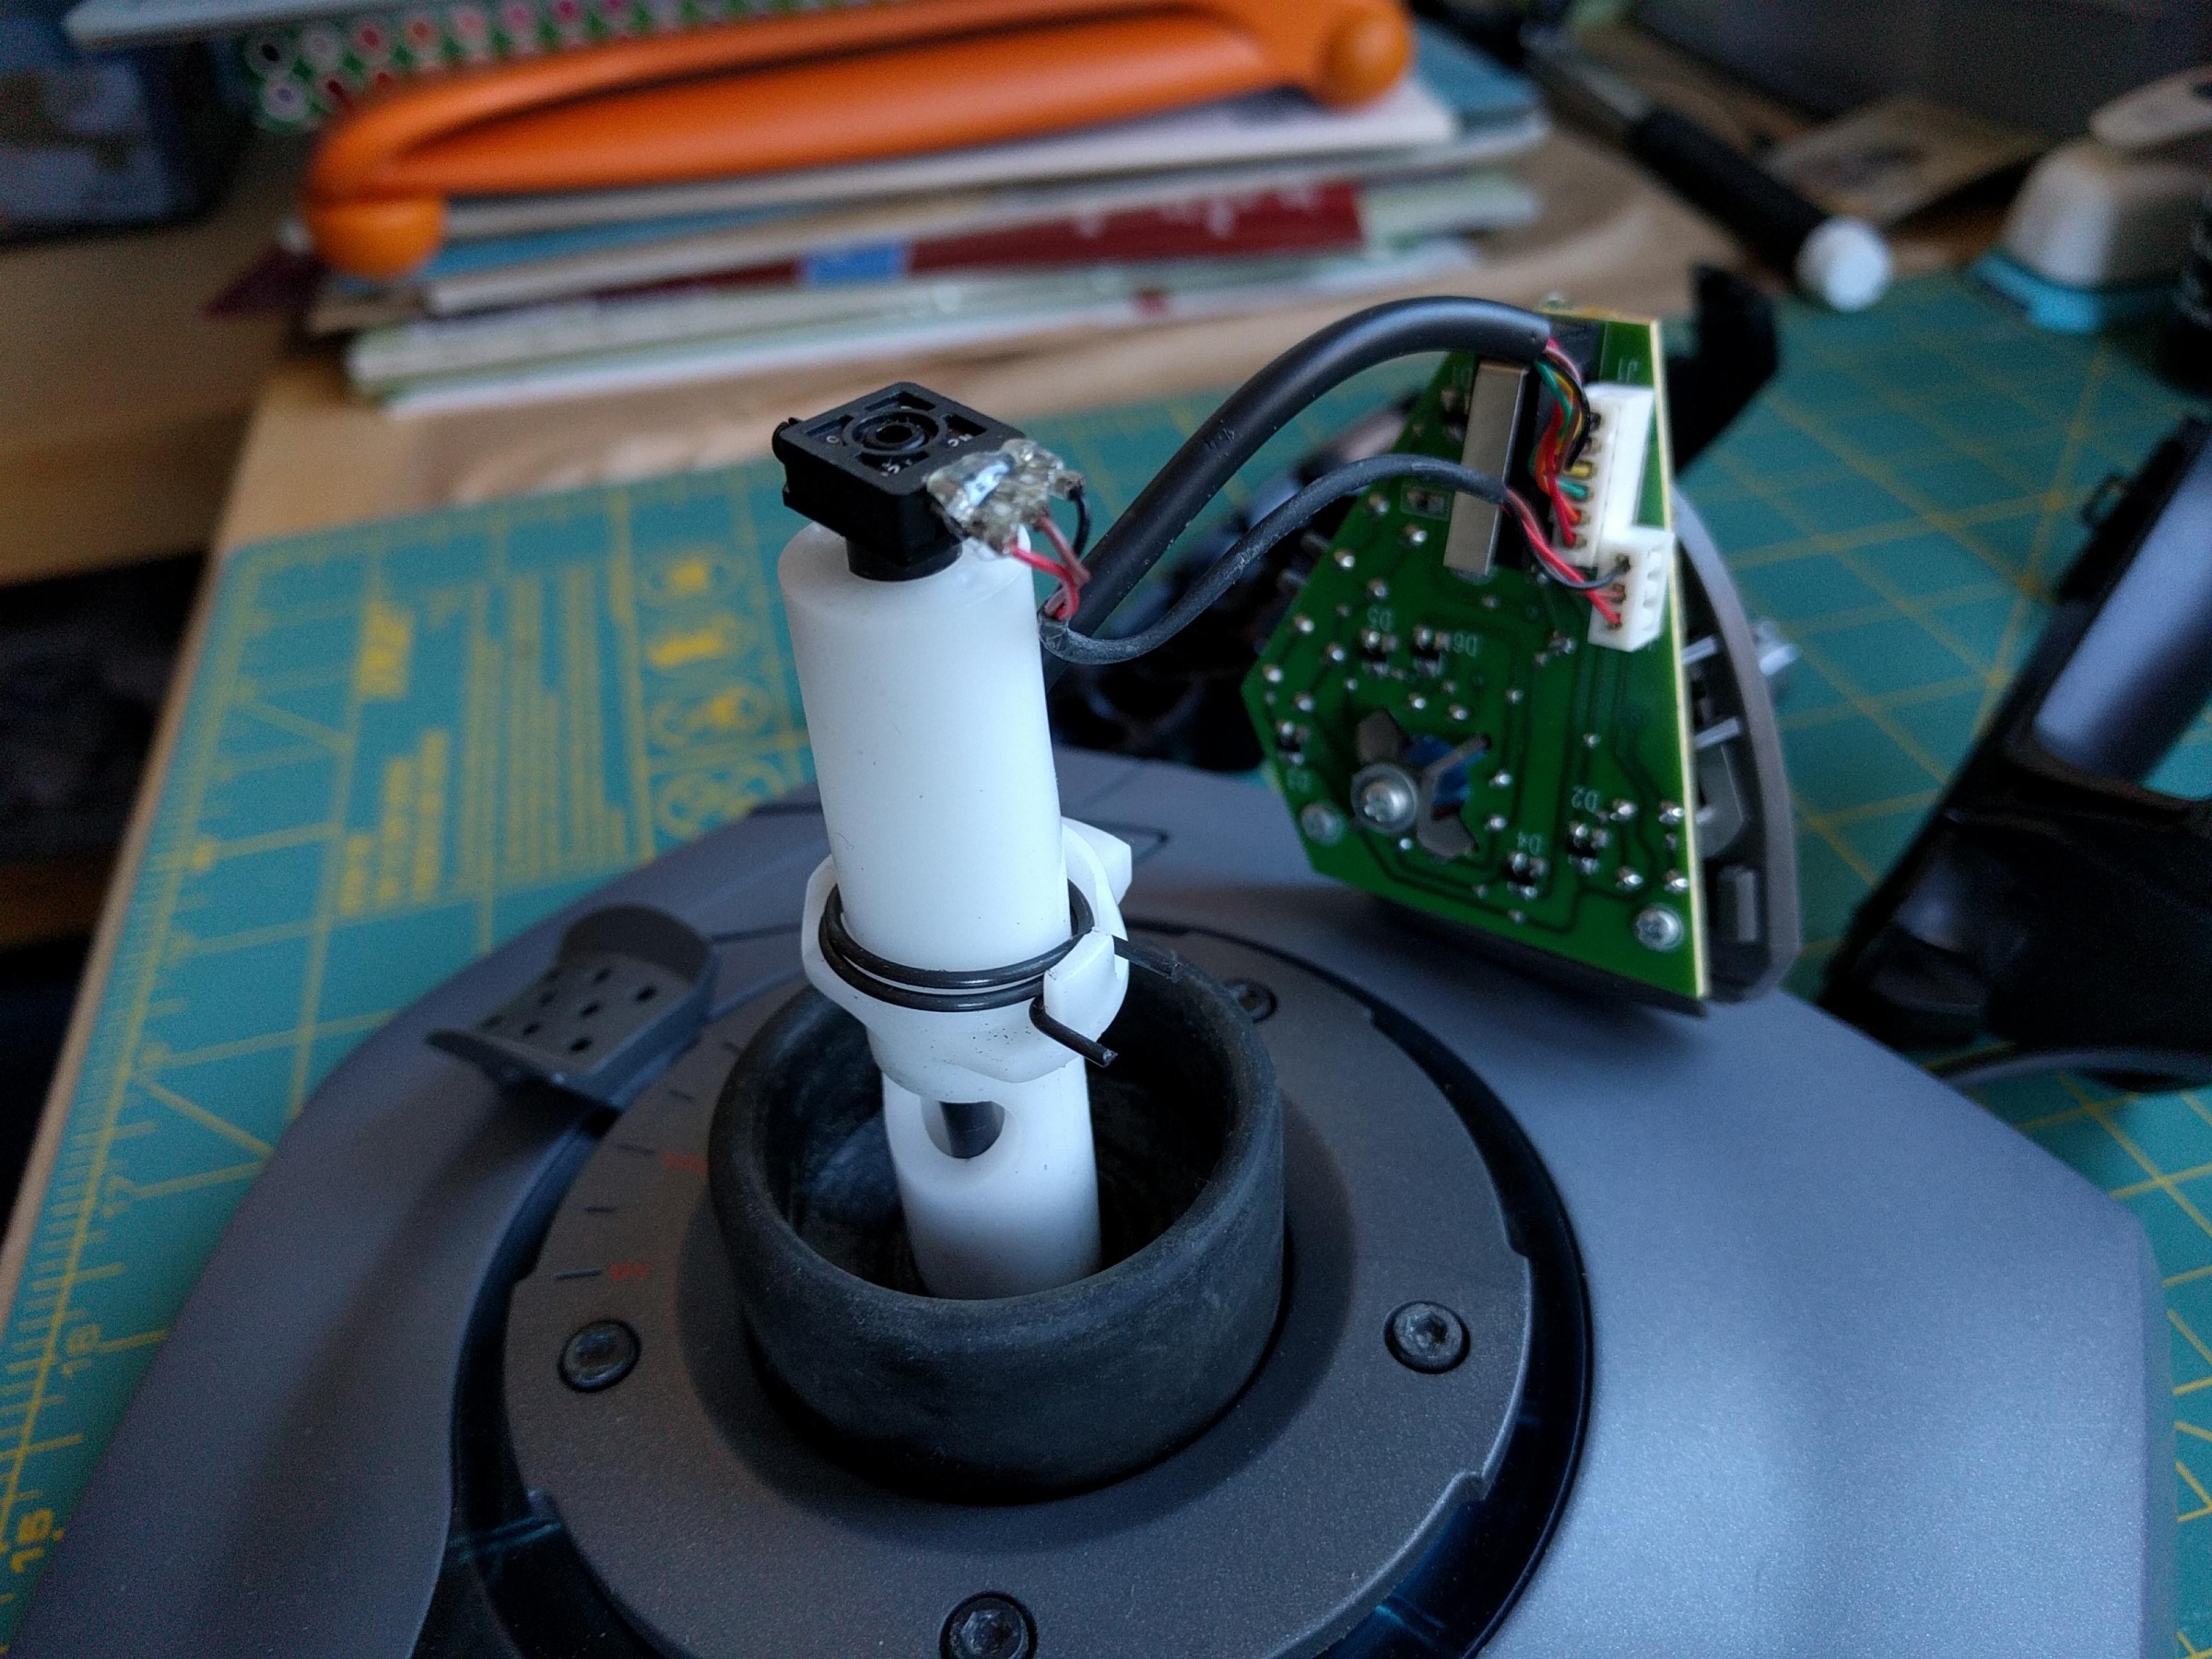
Now you can lift and pry the base of the joystick apart and gain access to the gameport cable connector. The socketed cable can easily be removed from the PCB.
Replacing the cable
I had a Logitech USB mouse in my box of electronics-to-be-recycled. I opened it and removed the USB cable. Conveniently, its cable colours matched the internal end of the existing gameport cable (black - shield, black - ground, red, white, green). I removed each wire of both cables from its white plastic connector/terminator. Then I inserted the five wires of the mouse cable into the 8-pin connector end from the joystick in the same order as the original cable by colour.
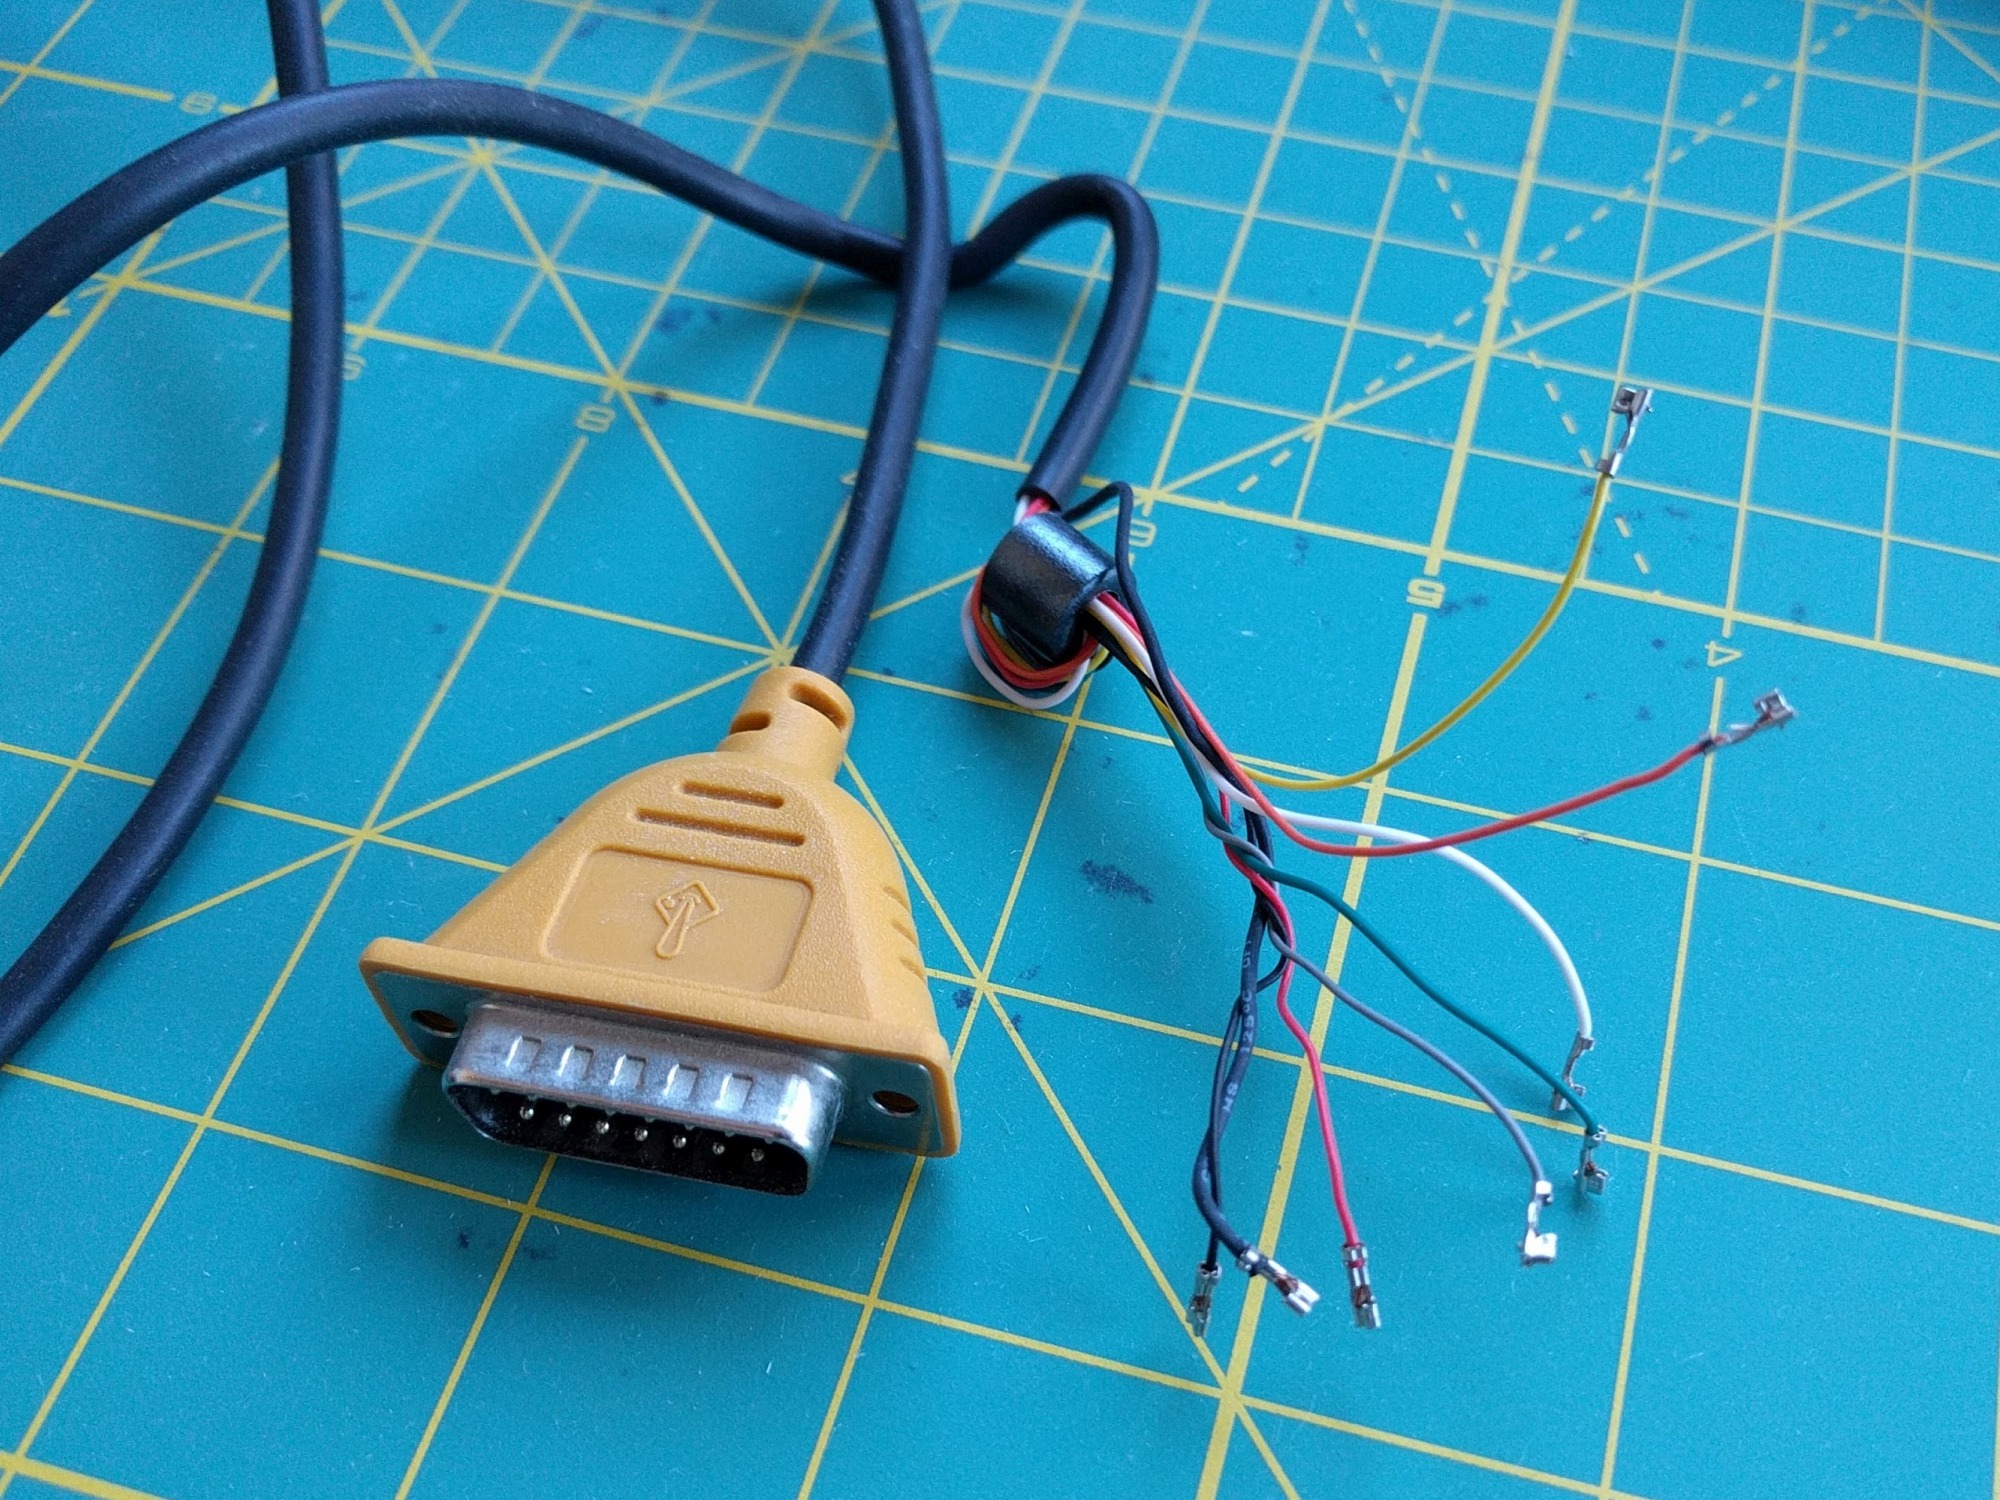
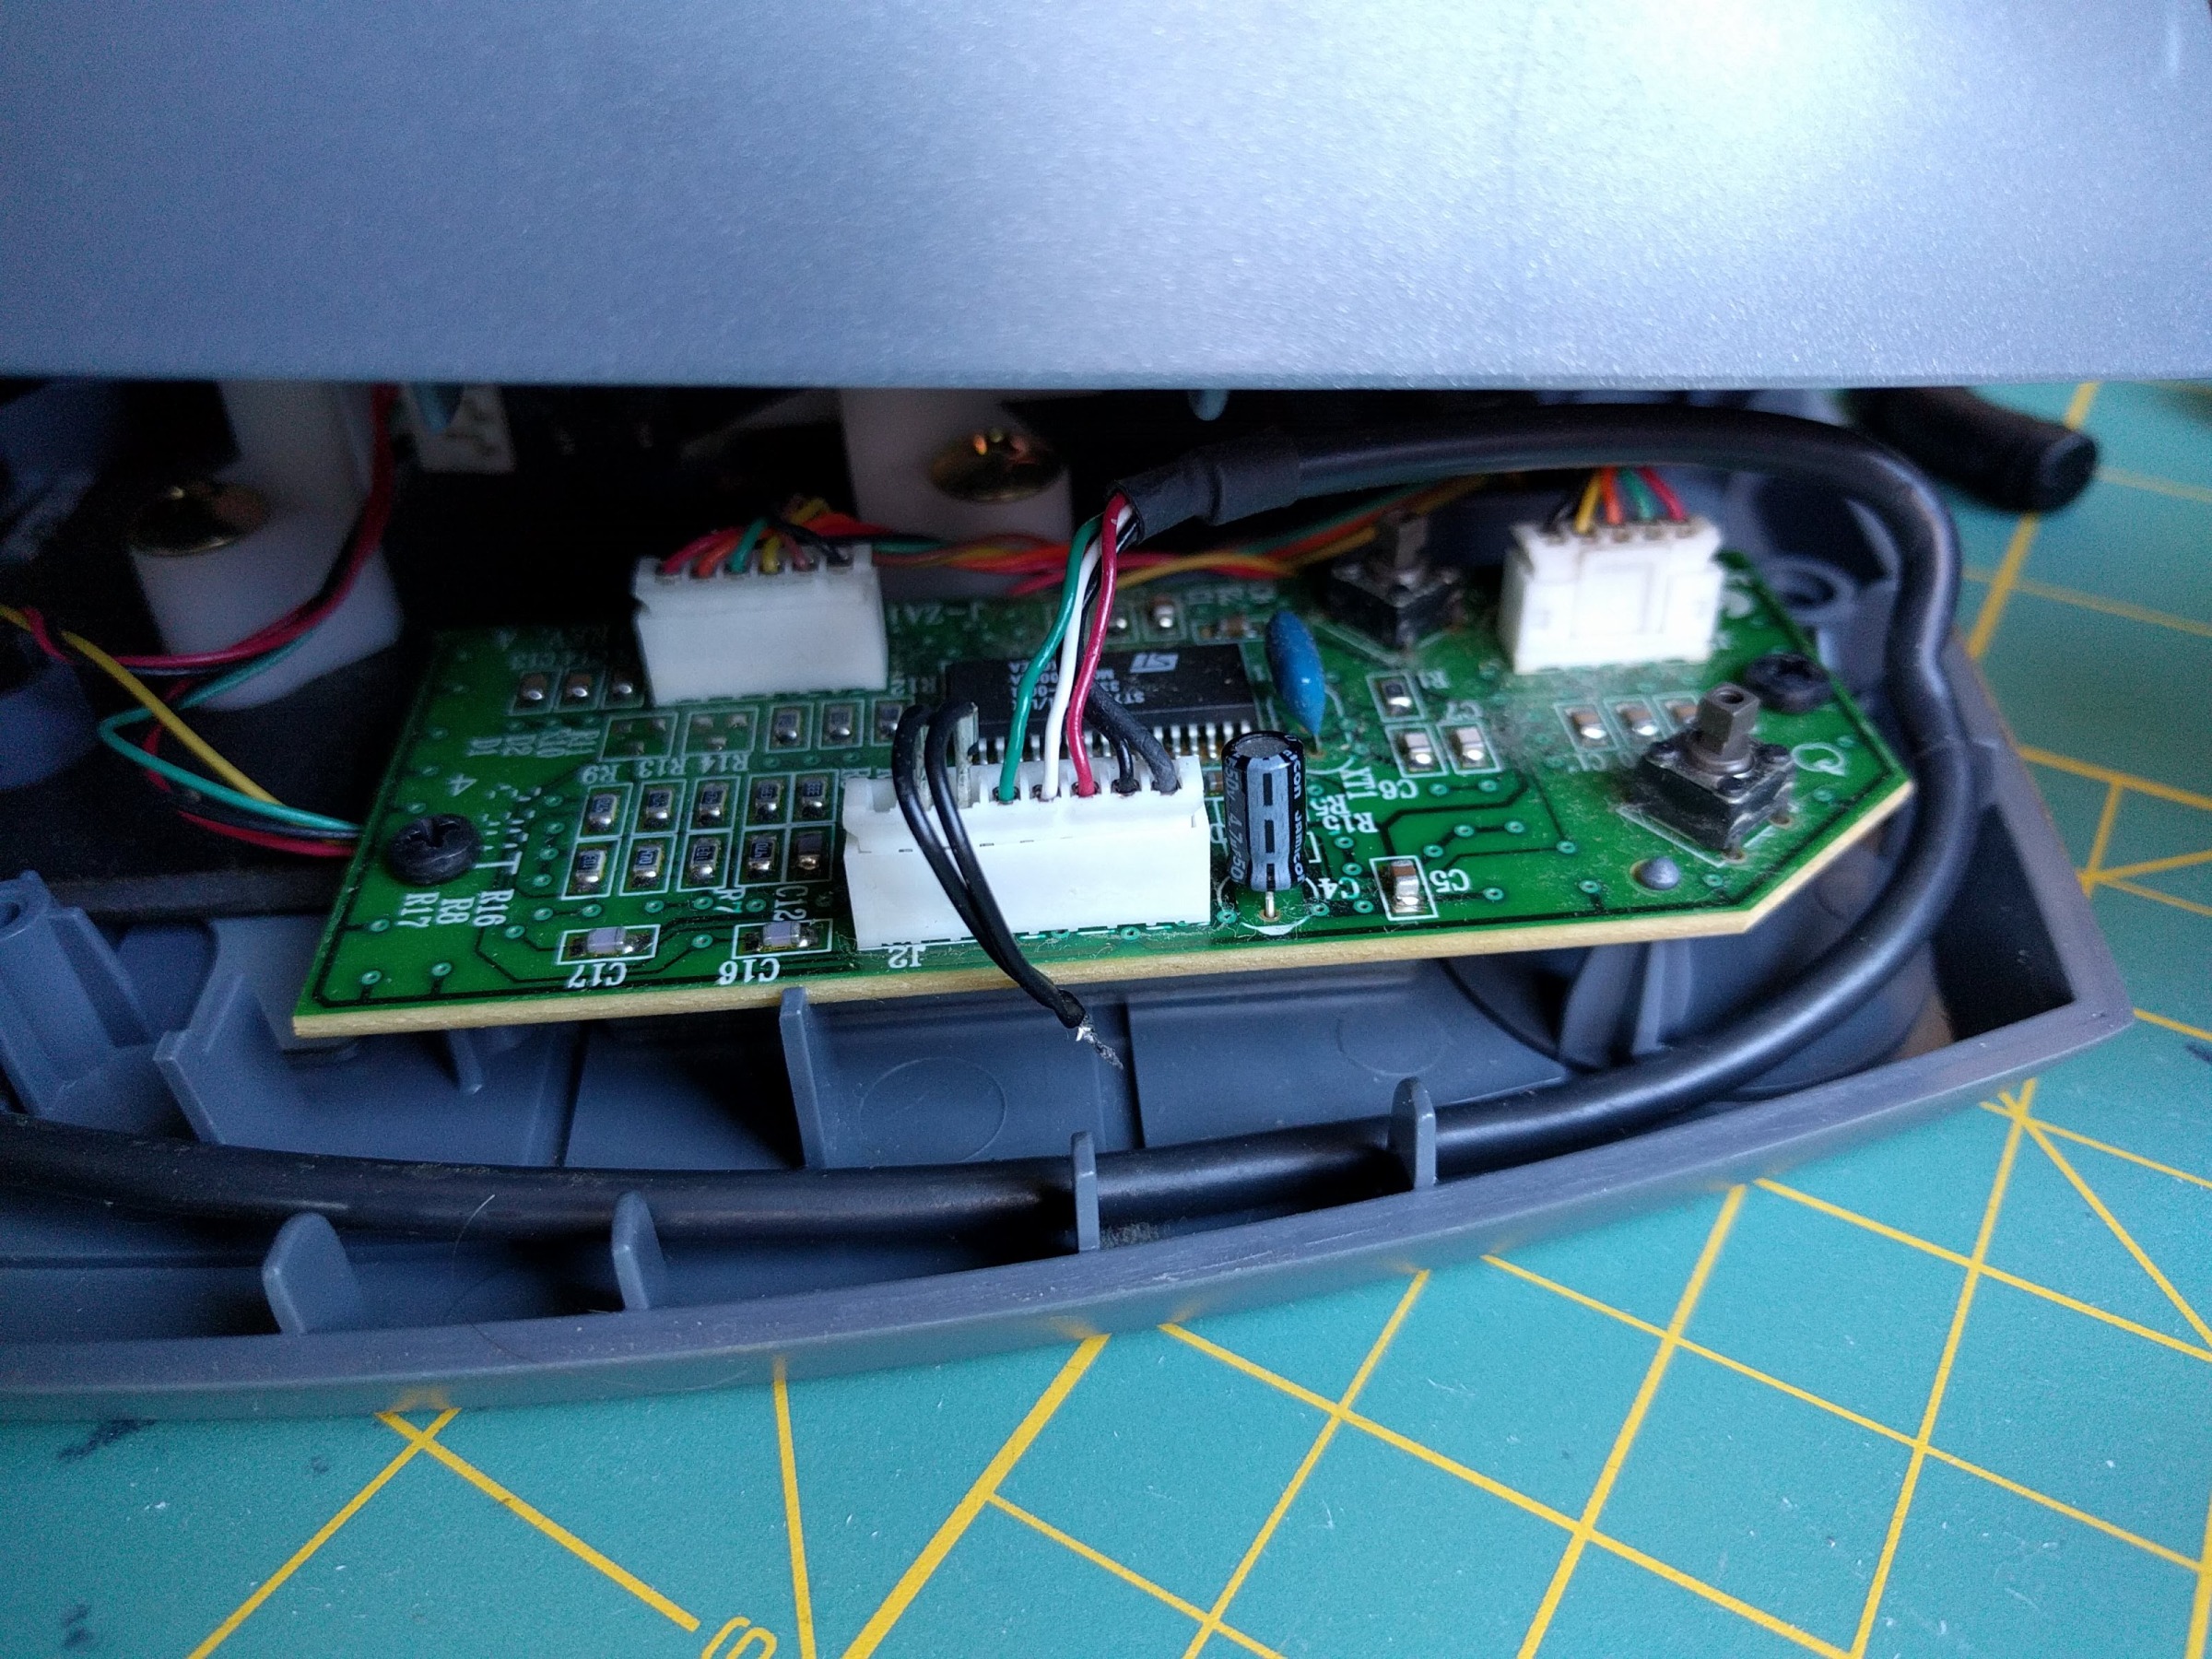
In order to “short pins 2 and 7” (from the perspective of the gameport end of the cable, shorting these pins is what tells it it’s in usb mode), I found another cable with a similar connector – attached to a small fan I didn’t intend to use – removed 2 wires from it, stripped and soldered the wire ends together, and inserted the other ends in positions 6 and 7 in the 8-pin connector. In other words, pins 2 and 7 on the gameport end correspond to pins 6 and 7 of the internal connector.
The 8th socket in the white connector does not need to be populated with anything, even though it was attached to the gray wire in the original gameport cable.
Reassembling the joystick
Reverse of disassembly. Reassemble the base, making sure the USB cable is in the right spot. Make sure the cutouts on the bottom of the rubber gasket are aligned properly.
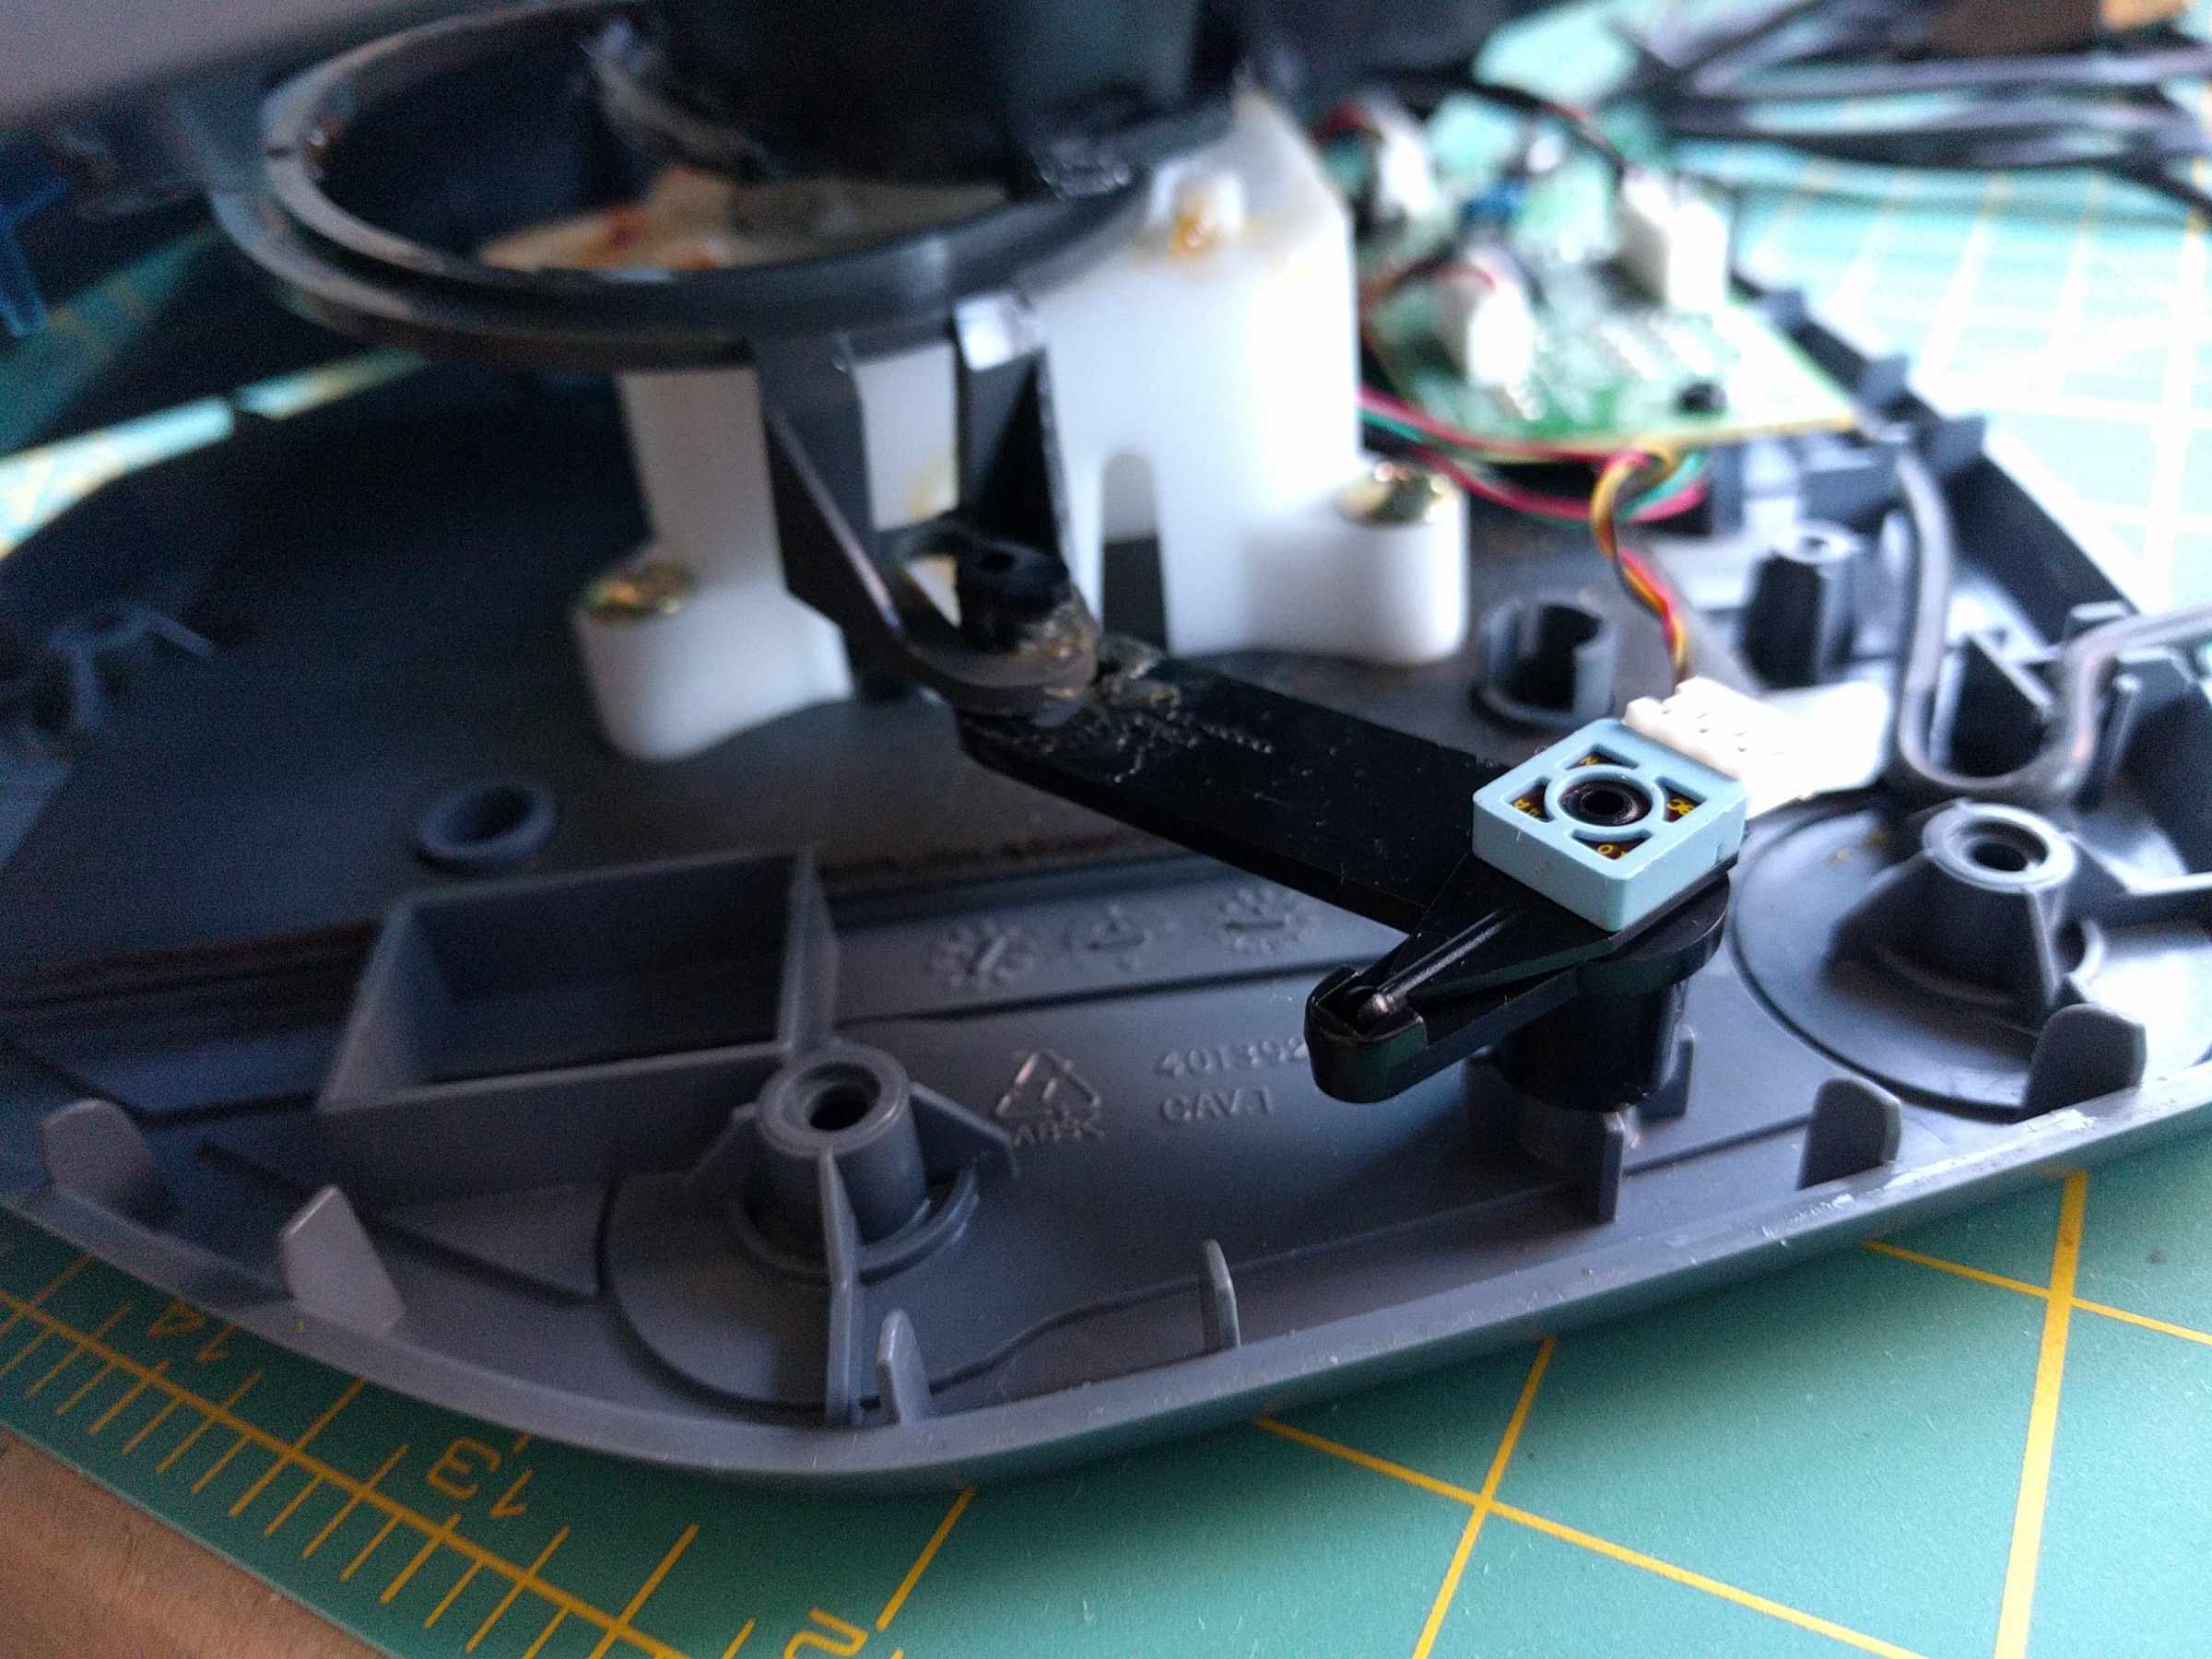
Check that the throttle arm is hooked over the plastic pin (attached to the sensor) as it was originally. Make sure the throttle thumb pad is between the two plastic tabs on the ring that limit its motion to the correct range. Snap the retaining ring down over the throttle and rubber sleeve.
There is a wire spring around the central shaft that should be rotated and pushed down until it goes over the plastic supports and is held firm. There is a removable, curved plastic peg which goes between the two parts of the handle near the bottom of the shaft. There is a cutout in the white shaft and the curve of the peg should fit into the cutout. If the spring and plastic peg aren’t in the right place, the twist rudder won’t feel right.
I did not disassemble the top piece with hat and buttons 4-5, so I just checked that the cable was still attached and pushed the assembly into one of the joystick handle halves.
I found it easiest to keep the two thumb buttons and trigger in the other half of the joystick handle by tipping the whole assembly on its side. Then I snapped the two joystick halves together, while keeping the whole joystick sideways so gravity kept buttons 2-3 in place.
Results
After plugging in the USB cable, the joystick was automatically detected by Windows. I downloaded Joystick Tester from https://www.softpedia.com/get/System/System-Miscellaneous/Joystick-Tester.shtml and tested that all buttons and axes worked. There is a web alternative available at http://html5gamepad.com/ but I didn’t end up using it. I downloaded and installed the drivers from Logitech’s site (labeled for Vista, they installed fine on Win10). It’s possible I could have gotten away without these extra drivers.
I launched TIE Fighter (1995 Collector’s Edition from GOG) where it prompted me to calibrate the joystick and then worked wonderfully.