
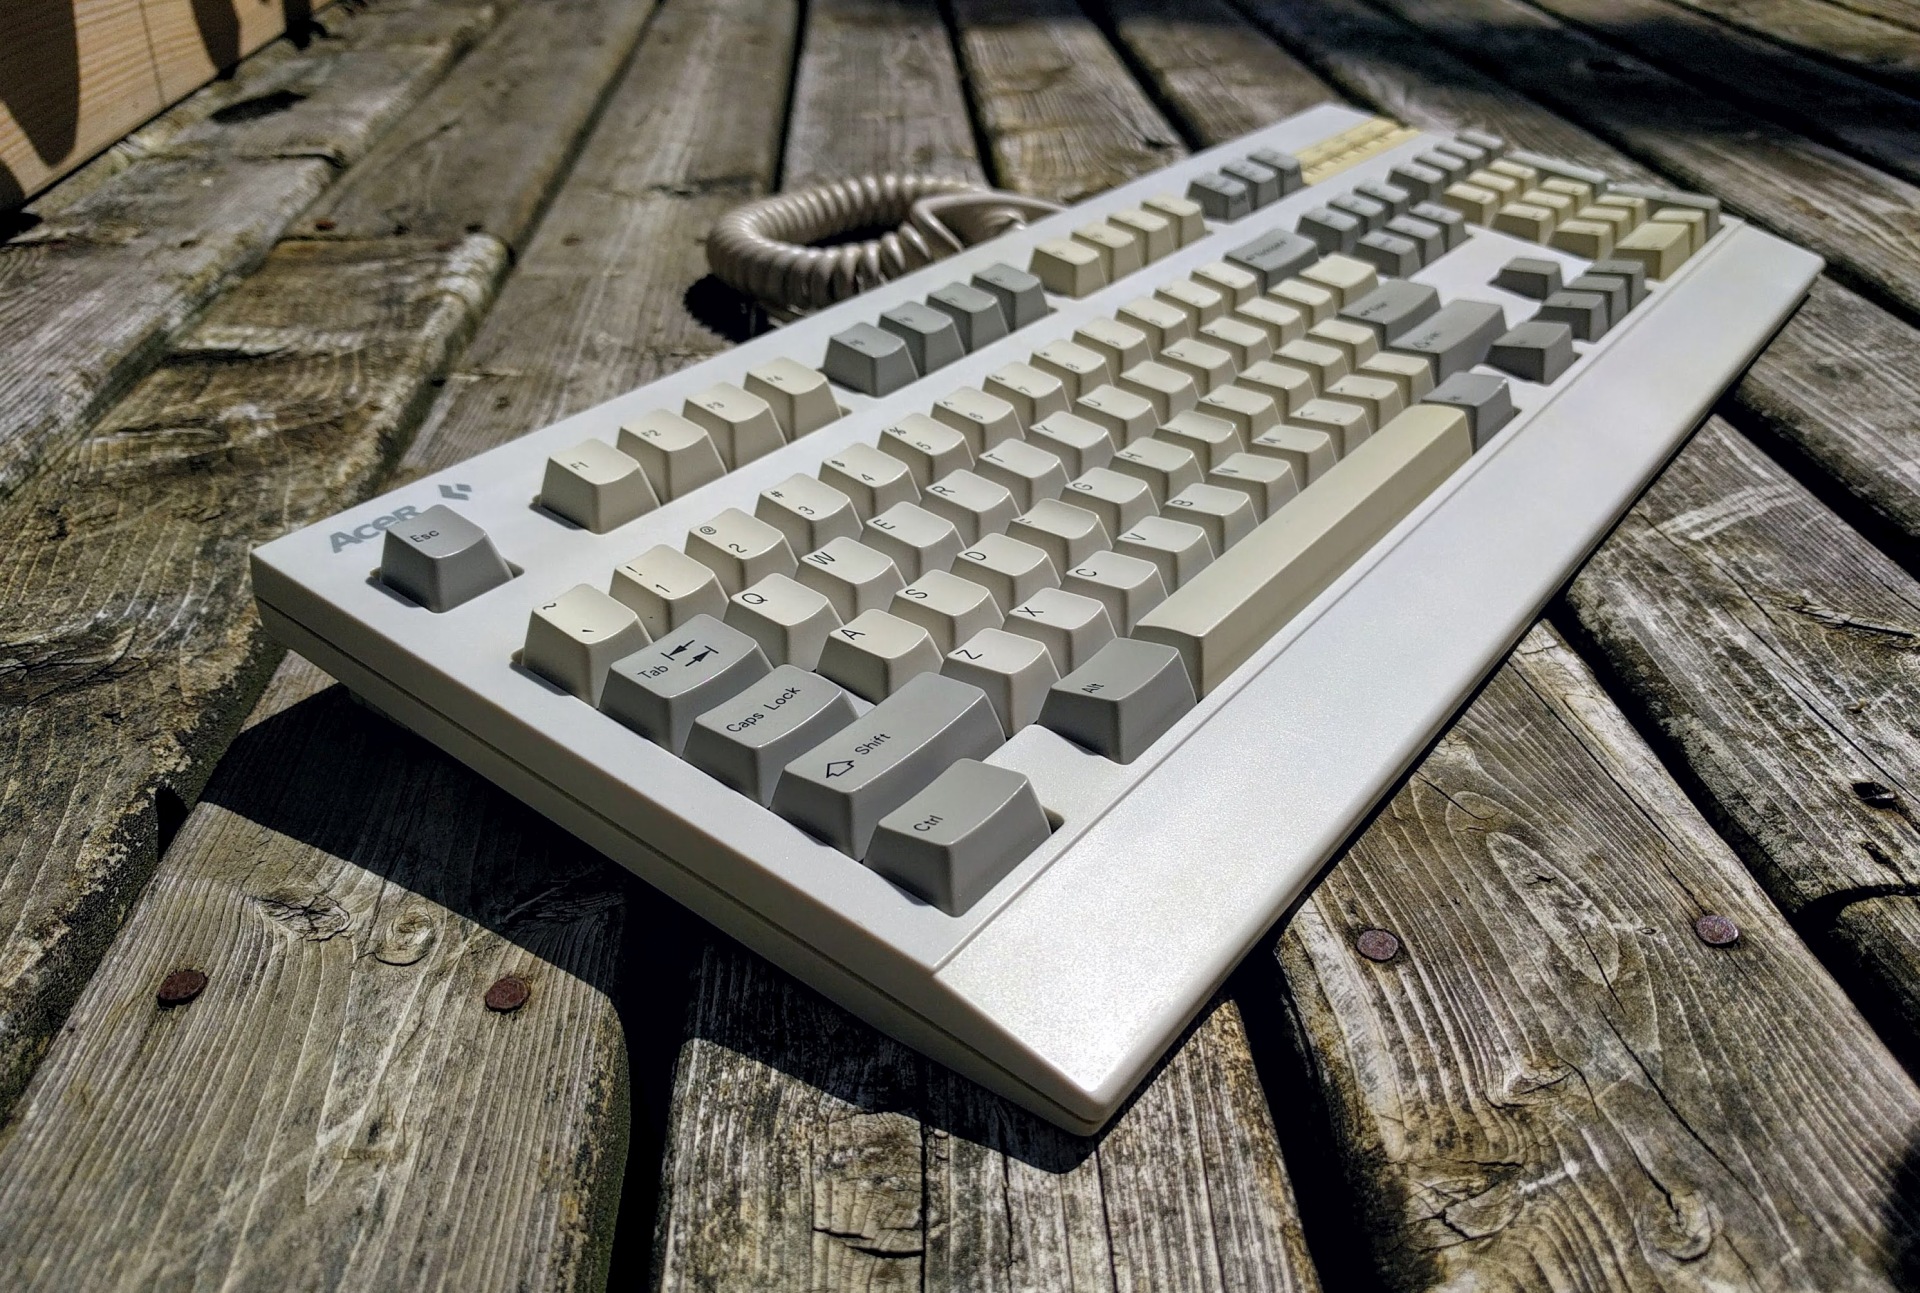
Refurbishing an Acer 6011 (Alps SKCM White switches)
Refurbishing a heavily used Acer 6011 mechanical keyboard.
Necessary equipment
- screwdrivers
- philips (for opening keyboard)
- tiny flat head (for opening switches)
- large flat head (for levering keycaps off)
- old toothbrush
- denture tabs
- canned air
- dry silicone/teflon lube
- isopropyl rubbing alcohol
- containers for parts (mason jars and lids)
- paper towel
- rubber gloves
Nice to have
- q-tips
- cheap paintbrush
- mr clean magic eraser
- tweezers
- needle-nose pliers
References
- https://deskthority.net/keyboards-f2/lubing-alps-switch-stems-t16849.html
- https://deskthority.net/keyboards-f2/smooth-alps-t13534.html
- https://www.youtube.com/watch?v=1Mhmb2kBuwQ
- https://www.youtube.com/watch?v=PLgQvmF3zOk
Preamble
I bought a used Acer 6011 on ebay for about $30 plus shipping and thought I got a deal. The keyboard was obviously used and dirty, but I have bought IBM keyboards that were filthy, but still worked fine mechanically, and cleaned up nicely. I didn’t realize how easily Alps switches are contaminated with dirt by comparison.
A label “LPT1 to print” hinted that this board had been used in a shared space. In addition to dirt/crumbs/hair, it included several dead spiders. One of the spacebar stabilizers was missing, but I found it stuck inside another keycap in a little silk cocoon.
Recommendation
Don’t do this. Buy a new/new-old-stock board with clean Alps or clone switches, unless you have more time/patience than money.
General advice
Start by plugging the board in as-is and checking if all the keys work. In my case, some keys were unresponsive: 7, E, G and H.
When opening a dirty keyboard, do it outside. Use a cloth/tarp so you don’t lose any bits. Give it an initial blast of compressed air and brush surface gunk out.
Never leave loose key parts sitting out (caps, housing, sliders, springs). Always put them in a box/jar/tray. I like jam jars because I can put big pieces in the jar and small springs, screws etc in the lid.
Cleaning keycaps
Use a flat head screwdriver to help lever the keycaps off. I pry Alps keycaps off from the side to avoid breaking the stems off in the switch. Note the numpad + and Enter have the switches turned sideways (so go from the top/bottom). Some Apple boards have the f-keys sideways too.
The stabilizers can be popped out of their clips using the screwdriver tip too. I usually leave the stabilizers attached to the caps whenever I can, to avoid losing parts.
Once all the keycaps are off, put them in a large jar with 3 denture tabs and fill with hot (not boiling) water. Wait about 10-20 minutes then drain, rinse with water, and spread out on a piece of paper towel to try. Leave to dry overnight.
If there are stubborn markings on the sides of the caps, try scrubbing with a magic eraser (mildly abrasive – don’t use on pad printed or textured surfaces).
Disassembling and cleaning Alps switches
Use a small (electronics) flat head screwdriver to pry open the top tab holding the top housing in. Grip the top of the slider with your fingertips (the slider has ridges). Pry open the bottom tab and pull the top assembly out.
Make sure you collect the housing, slider, click leaf and spring. Ideally, put them in separate trays.
Use compressed air to clean out the bottom housing of all the switches. Then use your brushes to get any remaining dirt, being careful not to flatten or yank the contact leaves which remain in the switches.
Controversial suggestion: put the top housings and sliders in jars and add denture tabs and hot water. Other people will say it’s better to brush these out and use only rubbing alcohol if needed, but I got decent results cleaning them this way all at once and then re-applying a spray lube.
Leave the housings and sliders to dry overnight.
Inspect a few of the housings for remaining dirt. If they were really filthy, you may need to brush them out or clean with a q-tip.
Line a cardboard box (or similar) with some paper towel. Place the sliders on the paper towel.
Put on rubber gloves.
Spray the aerosol lube over the sliders, wait a minute for the spray to dry, then flip the sliders and spray the other side. Don’t worry too much about coverage.
Put the springs and click leaves in a strainer or cheesecloth pouch and gently spray them with compressed air to remove any loose dust.
Now the pieces are all clean and you can start to reassmble your keyboard.
Reassembling Alps switches
When using Chyros’s method as shown here, I struggled to get the spring and click leaf to slide into the right place. I found it easier to do it this way:
- Put the slider in the top housing (make sure the slider divot faces away from the alps logo).
- Put the click leaf in the top housing (click leaf goes on the side that has the alps logo).
- Position the spring in the bottom housing over the bottom nub, leaning away from the contact leaf.
- If the spring stands straight up, position the top assembly over the spring and press down.
- If the spring is leaning on the bottom housing, use the top half of the key to ‘scoop’ the spring towards the contact leaf.
- If the spring stays correctly seated, the slider should pop up with a ‘clink’ as you push down.
Most common problems
-
No click:
The click leaf is stuck in the housing. Remove, re-seat the click leaf and try again.
-
Key action is too heavy or gritty:
The spring is out of place. Remove and reassemble.
-
Key still feels wrong, even after reassembling:
Double check that the top housing and the slider are in the right orientation (alps logo away from contact leaf, slider divot away from alps logo). I made this mistake 3 or 4 times when reassembling the switches on the 6011.
Outcome
The switches are greatly improved and are very usable, but they are still obviously used. The springs and click leaves are inconsistent and there’s not much to do except replace them. But the board now feels acceptable to use every day.
I damaged one switch (.) which had been marginal to begin with. I desoldered that switch and the Scroll Lock switch and swapped them. Eventually I will replace the scroll lock switch with a Matias/Fuhua clone switch.
Addendum
When I took this keyboard back out of the box to use it in Oct 2018, the G and H keys no longer registered easily. I took the opportunity to replace the G, H and previously broken Scroll Lock keys with blue clicky Taihao APC blue alps clones. I disassembled the keyboard, desoldered the old switches, soldered in the new ones.
On the unmodified APC switches, the keycaps sit slightly higher (maybe 0.5mm). It’s not dramatic but you can see it clearly if you’re looking.
As some other people have noticed, the APC switches only click sometimes – the click leaf appears to get stuck or bent.
The backspace switch (original) seems to have lost its click too. Next step may be to replace the APC switches and any other problem switches with click-modded SKCM Blacks from a Dell keyboard.